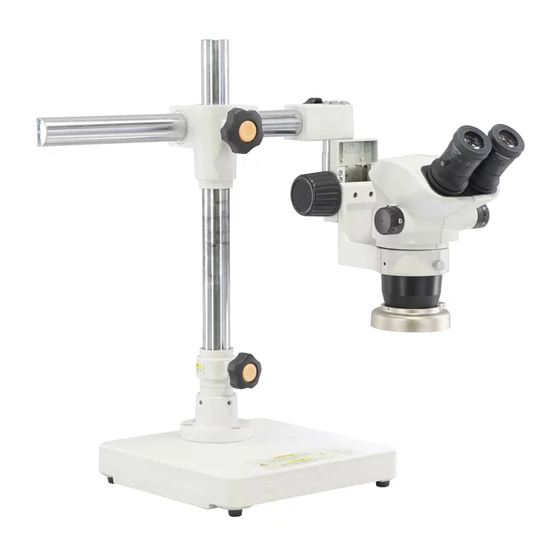
Olympus SZ2-STU1 Instrukcja obsługi - Strona 7
Przeglądaj online lub pobierz pdf Instrukcja obsługi dla Sprzęt laboratoryjny Olympus SZ2-STU1. Olympus SZ2-STU1 20 stron. Universal stand, table clamp stand

- 1. Table of Contents
- 2. IMPORTANT - be Sure to Read this Section for Safe Use of the Equipment
- 3. Modules, External View and Dimensions
- 4. Nomenclature and Assembly
- 5. Operation
- 6. IMPORTANT - be Sure to Read this Section for Safe Use of the Equipment
- 7. Sz2-Stu2
- 8. Modules, External View and Dimensions
- 9. Nomenclature and Assembly
- 10. Operation
NOMENCLATURE AND ASSEMBLY
1
Assembling the Stand
Applicable
microscope body
Bonder Arm
SZ2-STB1
Base plate
Allen wrench
storage position
Fig. 5
Operation mistake
prevention ring
Clamping screws
Fig. 6
SZ2-STU1
Allen wrench
Drop prevention ring
Clamping screws
(x 2)
Column
Clamping screws
(x 2)
Attach the column by firmly tightening the screws using the Allen
wrench.
Insert the drop prevention ring below the horizontal arm, in close
contact with it.
}It is convenient to store the Allen wrench in the Allen wrench storage
position on the horizontal arm for future use.
2
Attaching the Bonder Arm
1. Lift the operation mistake prevention ring on the shaft at the distal end of
the horizontal arm, and screw in the provided clamping screws into the
two screw holes by about half using the Allen wrench.
Insert the bonder arm from the bottom side all the way up until it is
stopped.
2. Tighten the clamping screws firmly using the Allen wrench. When you
remove your hand from the operation mistake prevention ring, it drops to
hide the screws.
Be sure to attach the bonder arm firmly with the screws. Otherwise,
it may rotate or drop and cause danger.
Horizontal arm
To maintain the ESD protection performance,
be sure to ground the equipment using the
following tools.
* 4 mm banana plug connection holes (x 4)
Bare ground lead wire connection screw (x 1)
** Bare ground lead wire connection screw (x 1)
Allen wrench
Table clamp
Connect the
section
ground lead wire.*
SZ2-STU1/STU3
(Fig. 5)
SZ2-STU3
Clamping screws
(x 2)
Allen wrench
Connect the ground
lead wire.**
(Fig. 6)
4
