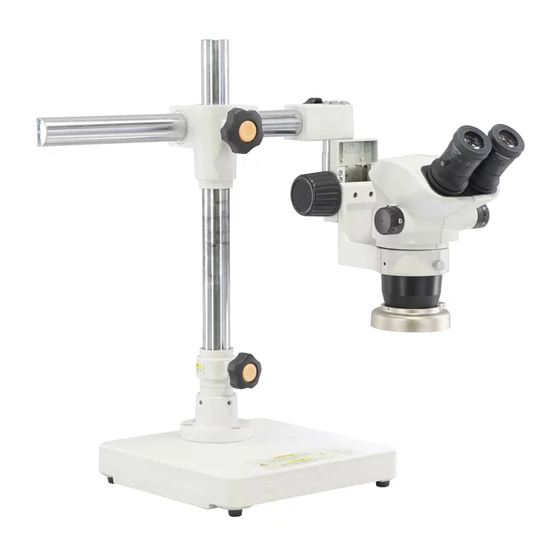
Olympus SZ2-STU1 Instrukcja obsługi - Strona 9
Przeglądaj online lub pobierz pdf Instrukcja obsługi dla Sprzęt laboratoryjny Olympus SZ2-STU1. Olympus SZ2-STU1 20 stron. Universal stand, table clamp stand

- 1. Table of Contents
- 2. IMPORTANT - be Sure to Read this Section for Safe Use of the Equipment
- 3. Modules, External View and Dimensions
- 4. Nomenclature and Assembly
- 5. Operation
- 6. IMPORTANT - be Sure to Read this Section for Safe Use of the Equipment
- 7. Sz2-Stu2
- 8. Modules, External View and Dimensions
- 9. Nomenclature and Assembly
- 10. Operation
Fig. 10
Fig. 11
Rotating the distal end enables observation of a perpendicular plane or
tall specimen. (Fig. 10)
Be particularly sure to tighten the distal end rotation screws tightly. If
they are loose, the distal end may rotate suddenly.
Do not tighten the distal end rotation screws too much, as this may
cause the distal end to slip out of the horizontal arm.
The stability is degraded if the distal end is attached on the side or
above the horizontal arm. In this case, take care to increase the
stability of the base plate.
6. To change the angle of the bonder arm, loosen the bonder arm angle
adjustment screw. (Fig. 11)
For the adjustment of the bonder arm angle, read the instruction manual
for the Arm Used with Microscope for Equipment Mounting.
Do not adjust the angle while the microscope body is mounted.
Dismount it before the adjustment.
SZ2-STU1/STU3
6
