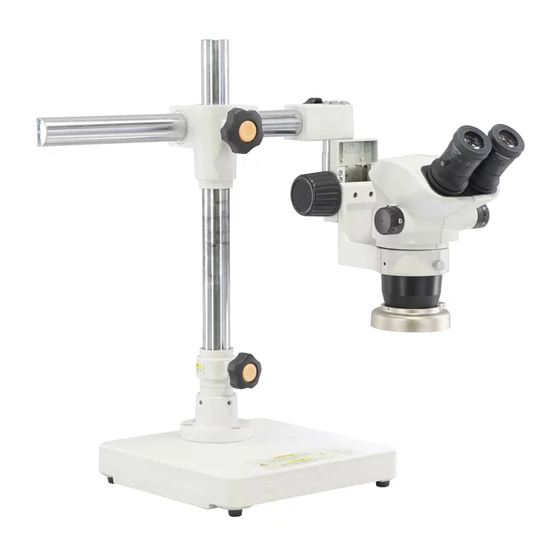
Olympus SZ2-STU1 Instrukcja obsługi - Strona 10
Przeglądaj online lub pobierz pdf Instrukcja obsługi dla Sprzęt laboratoryjny Olympus SZ2-STU1. Olympus SZ2-STU1 20 stron. Universal stand, table clamp stand

- 1. Table of Contents
- 2. IMPORTANT - be Sure to Read this Section for Safe Use of the Equipment
- 3. Modules, External View and Dimensions
- 4. Nomenclature and Assembly
- 5. Operation
- 6. IMPORTANT - be Sure to Read this Section for Safe Use of the Equipment
- 7. Sz2-Stu2
- 8. Modules, External View and Dimensions
- 9. Nomenclature and Assembly
- 10. Operation
IMPORTANT
SAFETY PRECAUTIONS
Top view
7
SZ2-STU2
Fig. 12
Fig. 13
1. Install the stand on a level desktop (inclination less than 3°).
2. When moving the stand, make sure that the clamping mechanisms are
secured tightly and lift the stand by holding it by the base plate. If the
stand is held by the horizontal arm or column alone, the base plate may
drop.
3. The load of the stand is limited, and its stability is variable depending on
the orientation of the horizontal arm. (Fig. 12)
· When the horizontal arm is extended at maximum, the load to the arm
of the SZX stand arm is limited as shown in the following table.*
Front 90°
Max. 10 kg
(Max. 8.8 kg)
Left side 105°
Max. 6 kg
(Max. 4.8 kg)
Right side 100°
Rear 65°
Max. 7 kg
(Max. 5.8 kg)
The figures inside ( ) are the loads when the SZX stand arm, weighing
1.2 kg, is used.
· When the mounted microscope is heavy, set the horizontal arm rotation
stopper for the front 90° positioning. (For the method of this operation,
see page 11.)
4. When the mounted microscope has a TV camera or photography unit
mounted on it, do not tilt the microscope body. As the microscope is heavy
and the center of gravity of the system is located high, loosening the clamping
lever may cause the microscope to rotate suddenly, causing damage to
the TV camera, photography unit or microscope body. (Fig. 13) (For the
method of this operation, see page 13.)
* Under this condition, the stand
tends to topple down easily if an-
other load is applied during the
microscope operation. It is rec-
ommended to set the horizontal
arm as short as possible.
