Siemens SIPART PS2 Instrukcja instalacji - Strona 5

Przeglądaj online lub pobierz pdf Instrukcja instalacji dla Urządzenia przemysłowe Siemens SIPART PS2. Siemens SIPART PS2 11 stron. Mounting bracket kit
Również dla Siemens SIPART PS2: Instrukcja instalacji (4 strony), Instrukcja obsługi (28 strony), Instrukcja instalacji (4 strony), Instrukcja instalacji sprzętu (30 strony), Opis techniczny (26 strony), Kompaktowa instrukcja obsługi (35 strony), Instrukcja instalacji zestawu (9 strony)
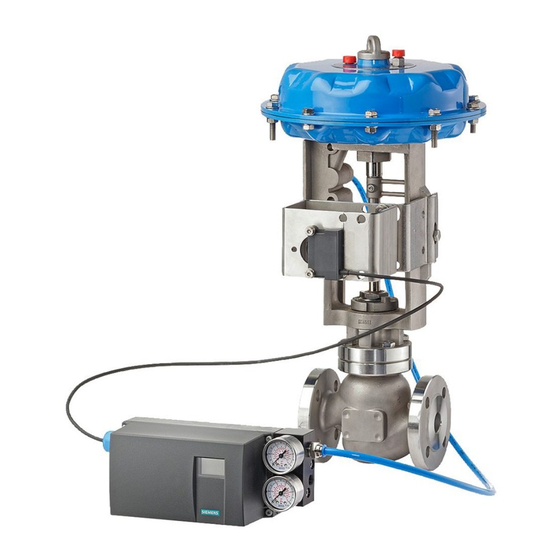
Siemens SIPART PS2 Instrukcja instalacji
Install the Linear Adapter on the Positioner Input Shaft
1. Using the supplied hex wrench, screw the setscrew into the linear adapter until the tip of the
setscrew is just visible in the hole in the end of the adapter. See the drawing below, left.
Linear Adapter
2. The PS2 input shaft is shown in above, right. It extends from the bottom of the positioner and is
flat on one side. Place the linear adapter on the PS2 input shaft so the setscrew can be tightened
against the flat on the input shaft. Tighten the setscrew securely.
Install Feedback Lever on the Linear Adapter
1. Secure feedback arm to linear adapter with the supplied split lockwasher and nut. See Figure 4.
2. Be sure spring clip wire is facing actuator during this assembly. Thus feedback pin will contact
spring clip before the pin goes through the feedback arm slot.
Install the Feedback Pin to the Actuator/Valve Stem Coupling
1. Using table 1 on page 3, use the appropriate feedback pin as per actuator model number.
2. Install 3/8" nut onto feedback pin. Thread hex nut onto the feedback pin up to the unthreaded
portion of the pin.
3. Screw the pin into the hole in the actuator coupling. Do not tighten the pin or nut at this time.
Fasten Mounting Plate to PS2
1. Using the four M6 lock washers and M6 Hex bolts, secure PS2 valve positioner to mounting
plate.
Set Screw
3/8
FIGURE 4 Feedback Lever and Retaining Clip Orientation
Input Shaft
5
15900-795