Cisco ATA 186 Konfiguracja - Strona 17

Przeglądaj online lub pobierz pdf Konfiguracja dla Gateway Cisco ATA 186. Cisco ATA 186 28 stron. Analog telephone adaptor
Również dla Cisco ATA 186: Arkusz danych (7 strony), Przegląd (11 strony), Podręcznik przeglądowy (11 strony), Podręcznik konfiguracji (8 strony), Podręcznik użytkownika (12 strony), Instrukcja instalacji i konfiguracji (13 strony), Instrukcje dotyczące instalacji (6 strony), Konfiguracja (6 strony)
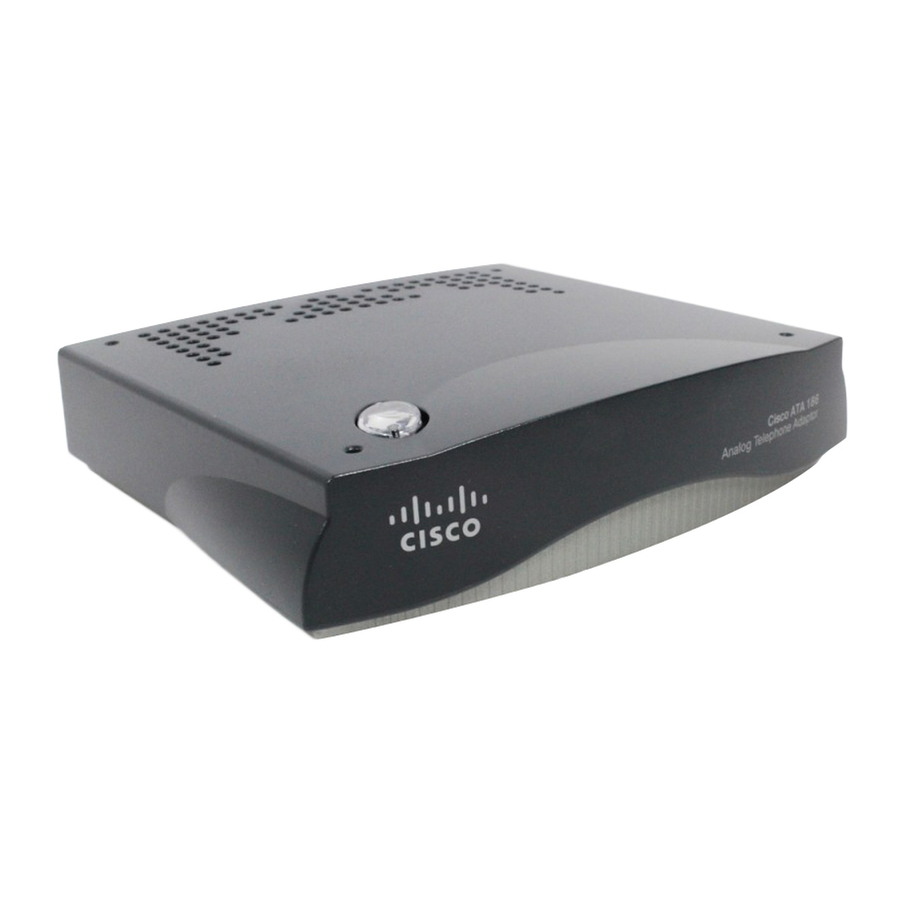
Cisco ATA 186 Konfiguracja
Do not connect the Phone input ports to a
Caution
telephone wall jack. To avoid damaging the
Cisco ATA or telephone wiring in the building, do
not connect the Cisco ATA to the
telecommunications network. Connect the Phone
port to a telephone only, never to a telephone wall
jack.
The telephone must be switched to tone setting (not
Note
pulse) for the Cisco ATA to operate properly.
(Optional) Connect the telephone line cord of a second
Step 3
telephone to the Phone 2 input port.
If you are connecting only one telephone to the
Note
Cisco ATA, you must use the Phone 1 input port.
Connect an Ethernet cable to the uplink RJ-45
Step 4
connector on the Cisco ATA. For the Cisco ATA 186,
this is the 10BASE-T connector; for the Cisco ATA 188,
this is the 10/100UPLINK connector.
17