Blackberry Radar H2 Instrukcja instalacji - Strona 18

Przeglądaj online lub pobierz pdf Instrukcja instalacji dla Radar Blackberry Radar H2. Blackberry Radar H2 30 stron. Dry van, insulated trailers roll-up doors
Również dla Blackberry Radar H2: Instrukcja instalacji (33 strony), Instrukcja instalacji (26 strony), Instrukcja instalacji (25 strony), Instrukcja instalacji (32 strony), Instrukcja instalacji (33 strony), Instrukcja instalacji (34 strony), Instrukcja instalacji (35 strony), Instrukcja obsługi (33 strony), Instrukcja instalacji (32 strony), Instrukcja instalacji (26 strony), Instrukcja instalacji (25 strony), Instrukcja instalacji (28 strony)
Blackberry Radar H2 Instrukcja instalacji
18
BLACKBERRY RADAR H2 ITC100-1 INSTALLATION GUIDE
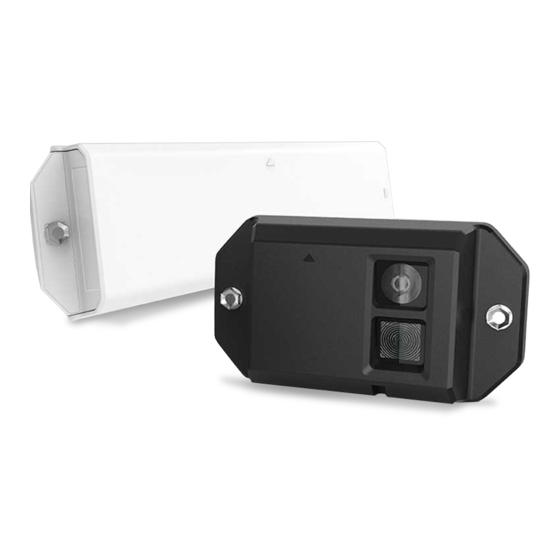
4. Insert the inner housing into the outer housing. Locate the fastener bag from Step 1.
Remove the two screws from the bag and use them to secure the housing.
The module is prepared for installation on the asset.
3.4.2 Installing the module on an asset
1. As indicated in Section 3.3 of this guide, record the module identifier and the asset
identifier the module will be paired with. For your convenience, you may quickly
create a record of the module and asset identifier pairings by removing the partially
attached label from the rear housing of the module and placing it on the installation
worksheet, next to the asset that will be tracked by the module.
Tip: For modules that have previously been transferred to new assets, the temporary
S/N label may no longer be in place. If this is the case, you will need to write the
module identifier (S/N) for each module on the installation worksheet.
The following sections of this guide will illustrate recommended installation
methods for various asset scenarios.