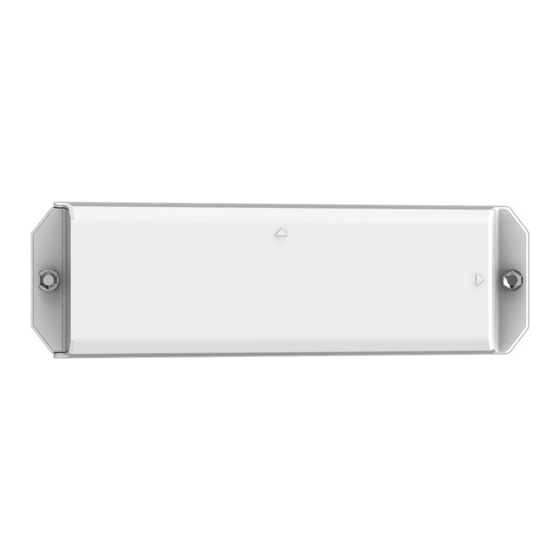
Blackberry RADAR H2 ITC100-1 Instrukcja instalacji - Strona 6
Przeglądaj online lub pobierz pdf Instrukcja instalacji dla Radar Blackberry RADAR H2 ITC100-1. Blackberry RADAR H2 ITC100-1 30 stron. Magnet accessory
Również dla Blackberry RADAR H2 ITC100-1: Instrukcja instalacji (33 strony), Instrukcja instalacji (28 strony), Instrukcja instalacji (35 strony), Instrukcja instalacji (25 strony), Instrukcja instalacji (35 strony)

36
BLACKBERRY RADAR H2 ITC100-1 INSTALLATION GUIDE
2. Evaluate the amount of clearance you will have once your module is installed. This
will help you determine the best mounting location for your asset. You can perform a
clearance check, prior to drilling any mounting holes in your door, by securing the
module to the door with tape and moving the door through its complete range of
travel, to ensure there is no interference.
Tips for roll-up door installation
Tip 1: If you have tried a higher mounting position, and found you did not
have enough clearance to allow uninterrupted door travel, try moving the
module lower on the door. Lower door placements can help address some
clearance issues by reducing the distance the module has to travel inside the
trailer, past potential interference points.
Tip 2: When determining your preferred mounting location, consider the
climate conditions your asset may encounter. For example, if you routinely
run your vehicle in very cold climates, where ice accumulation on the rear of
the trailer is an issue, you will want to consider the typical ice accumulation
thickness your asset may see when determining how much clearance is
acceptable. Also consider your ability to remove such accumulations should
they occur.
