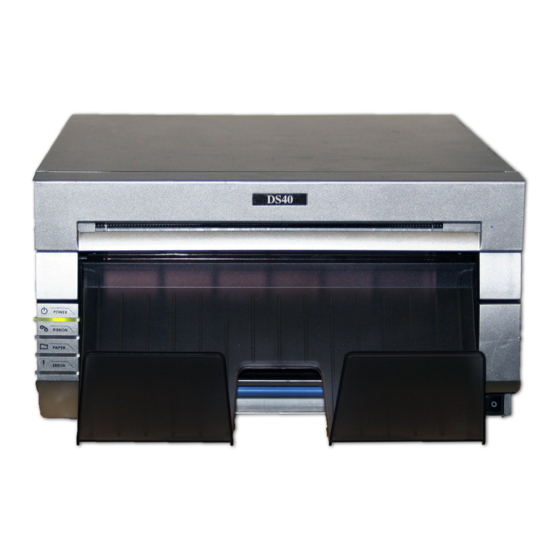
DNP DS40 Podręcznik konserwacji - Strona 5
Przeglądaj online lub pobierz pdf Podręcznik konserwacji dla Drukarka DNP DS40. DNP DS40 6 stron. Photo imaging
Również dla DNP DS40: Skrócona instrukcja obsługi (6 strony), Skrócona instrukcja obsługi (8 strony), Instrukcja przepakowywania (2 strony)

Paper Jam
1.
Open the Front panel as per changing paper instructions &
remove the ribbon tray.
2.
You should be able to see the jammed paper feed below
where the ribbon tray was mounted. Gently pull the paper
upwards until the jammed paper is released & you can see
smooth, undamaged paper feeding through the feed (Figure
7).
3.
Cut the damaged paper away, ensuring the cut is a straight
as possible.
4.
Remove & rewind the paper spool as per instruction for
changing the paper roll & reset the paper as per normal
process.
Ribbon Jam
1.
Remove the ribbon cartridge as per instructions for changing a ribbon & cut the
ribbon to free the main ribbon & cartridge (Figure 8).
2.
Carefully pull the remaining jammed ribbon from the printer ensuring that no
remnants of the ribbon remain stuck as this will impact ongoing printing (Figure 9).
3.
Use clear sticky tape to join the cut ends of the ribbon remaining in the cartridge
& then wind the ribbon onto the take up/waste spool until the tape is out of sight
(Figure 10). We would suggest a minimum of 1 full 'set' of ribbon colours is wound
on.
Figure 8 - Cutting the
ribbon
Figure 9 - gently pull
dam aged ribbon from printer
Figure 7 - Removal of
jammed paper
Figure 10 - Direction to wind
dam aged ribbon onto spool
