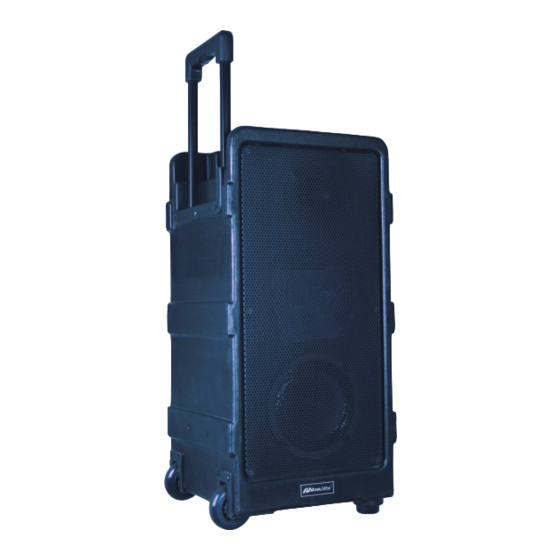
AmpliVox SW800 Manual do utilizador - Página 5
Procurar online ou descarregar pdf Manual do utilizador para Sistema de altifalantes AmpliVox SW800. AmpliVox SW800 12 páginas. Battery powered pa system
Também para AmpliVox SW800: Manual do utilizador (10 páginas), Manual do utilizador (8 páginas), Manual do utilizador (8 páginas), Manual do utilizador (10 páginas)

FUSE
FUSE: There is a fuse located in the Back Panel labeled FUSE
Detach the AC adapter cord and battery connections before replacement.
This fuse protects the AC circuitry. Use finger tips, a fuse puller or flat nose pliers to pull the fuse out. Replace the fuse
with an ATO Type (Blade Fuse—Automotive) 15 amp / 32VDC (Blue Color) fuse if needed.
Again, detach the AC adapter cord and battery connections before replacement.
If after replacing the fuse, the SW800 does not "power on", please call AmpliVox Customer Service at 800-267-5486.
AUDIO FUNCTIONS
E
WIRED MICROPHONE INPUTS: Two XLR type,
MIC 1 and MIC 2. Each has its own volume control that
allows you to adjust sound level of the plugged-in micro-
phone.
F
LINE IN INPUTS: Add pre-recorded music or audio to your
presentations from an external source. Connect using the
1/8ʺ (3.5 mm) connector. A separate LINE IN VOLUME
CONTROL is also provided for controlling sound level of the
external source.
G
AUDIO CONTROLS:. BASS: This control cuts or boosts the
bass level. TREBLE: This control cuts or boosts the treble
level.
H
LINE OUTPUT: A 1/4" connector is provided for connecting
to other equipment. LINE OUT
ternal recording device or AmpliVox S1297 Powered
Speaker. The advantage to this configuration is that the
external system's own EQ & volume settings can be sep-
arately adjusted to suit its environment and the two sys-
tems
do
not
EXTERNAL SPEAKER: A 1/4" connector is provided for
I
connecting to PASSIVE SPEAKERS (NON-POWERED).
POWER ON / OFF SWITCH
B
BLUETOOTH PLAYER
•
Turn Volume/Power knob clockwise to turn on Bluetooth
receiver. PWR and LINK LED's will illuminate. Will auto-
matically enter into pairing mode.
•
While in pairing mode turn on your Bluetooth device for
pairing. On your Bluetooth menu look for "Portable PA".
May ask to use Pincode# 0000. Once paired the PWR
and LINK LED's will remain on.
can be used to drive an ex-
interact
with
each
D
(SEE PAGE 4).
E
other.
E
B
5
G
F
E
F
H
I
