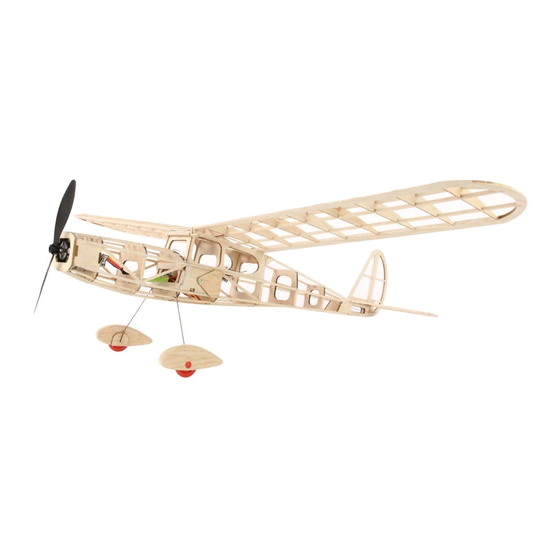
DPR Hyper Cub Manual de instalação - Página 4
Procurar online ou descarregar pdf Manual de instalação para Brinquedo DPR Hyper Cub. DPR Hyper Cub 4 páginas. Limited edition rc version

Connect the Z-bends to the
servo horns and position in the
centre position as shown.
At the other end of the rod, position the control horns so the
connection point is over the control surface hinge point. You will
need to make a slit in the wood for the control horn to be inserted
Before gluing in place terminate the push rod with another
Z bend and connect to the horn, then glue horn in place ensuring
the control surface and servo`s are all at the neutral position.
Use the V bend if there is slight trimming needed.
Now the installation is complete you need to check the C.O.G.
The battery needs to be put in place and the C.O.G needs to be
as shown in the image, which is about 38mm from the leading
edge.
38mm
Recommended control movement
Elevator UP / DOWN
5MM - 15MM
EXPO 10% - 25%
Rudder LEFT / RIGHT 10MM - 15MM
EXPO 10% - 25%
Please always remember to do a range check before your first flight and always fly safe.
Distributed by
J Perkins Distribution
Northdown Business Park, Lenham, Kent, ME17 2DL
www.jperkins.com
