DigiVac SNAP Manual operacional - Página 5
Procurar online ou descarregar pdf Manual operacional para Controlador DigiVac SNAP. DigiVac SNAP 17 páginas. Vacuum control and pressure regulation in one

Section 3. Installation
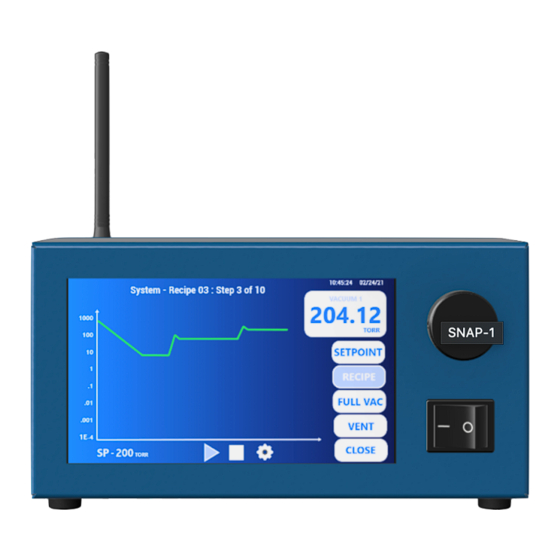
Now, it's time to connect the SNAP Vacuum Controller: The only required connections
for operation are power, a vacuum pump, and a vacuum system.
Hooking the SNAP up to a system is a simple process:
1.Mounting: Find a suitable location for
mounting the SNAP. In its standard,
landscape mode, SNAP sits on rubber feet.
It should be put in a place that easily
allows access to the touch screen, but has
minimal process vibration. A mounting
bracket or pole clamp can be added-on to
allow for direct mounting to certain
vacuum ovens or rotovaps. These options
are best used in SNAP's portrait mode.
2.Connect to Vacuum Pump: Connect your
vacuum pump to the KF25 input labeled
"Vacuum Pump".
3.Connect to Vacuum System: Connect
your vacuum system to the KF25 vacuum
output labeled "System".
4.Vent Port (optional): If you would like to use a gas other than ambient air to vent
your system, connect that vent gas to the hose barb.. Many customers may
choose to vent with dry Nitrogen.
5.Data Capture (optional): Attach USB connection for data to a PC or other system.
6.Analog In/Out (optional): Connect to a PLC and use specified voltages to control.
7.External Sensor (optional): Connect an external sensor(e.g. 10 Torr Capacitance
Manometer for improved accuracy
8.Power: Plug in to Power and turn on
©
2021 DigiVac Company®Allrights reserved. | 1020 Campus Drive, Morganville,NJ 07751 | (732) 765-0900
5
