3d-printz Mini Sinbad 1200 Manual - Página 4
Procurar online ou descarregar pdf Manual para Brinquedo 3d-printz Mini Sinbad 1200. 3d-printz Mini Sinbad 1200 6 páginas.
-
glue HorStab top onto the rudder. Pay attention to the correct alignment, the part has a
small shoulder which has to be glued to the rudder, but not to the tail unit. It is best to fix
the part with some adhesive tape before gluing and check the ease of movement of the
rudder - it should movable absolutly free. For the attachment of the horizontal stabilizer 2
pcs. 2mm carbon rods are required (see page 1). First glue HorStabR2 with HorStabR1,
then insert the rods and then connect the right half of the tail unit with VertStab so that you
have the right side of the tail unit ready. Then push HorStabL1 onto the bars and check
whether the connecting pieces between the two tail unit halves lock into each other proper
- this is essential so that the elevator can move properly later. Now glue HorStabL1 with
VertStab and HorstabR1 (make sure that the connector between the oars is firmly and,
above all, connected straight with thick superglue!)
After the last part of HorStabL2 has been glued to the
rest of the horizontal stabilizer, you can continue with
the wings.
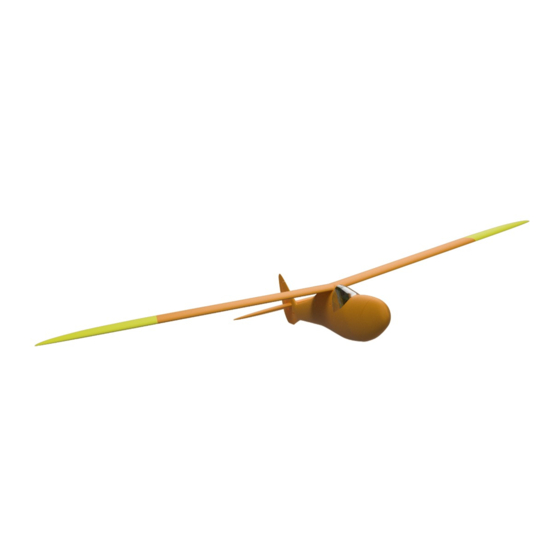
Next, connect VertStab to Fus4 - you need a
carbon rod with a diameter of 3mm and a
length of
105mm. First
carefully check
the stick for fit,
then join Fus4
and VertStab
with superglue
make sure that
the alignment
is correct - here you can orientate yourself
on the Bowden cable housings. As soon as
the glue has dried (use activator!) You can