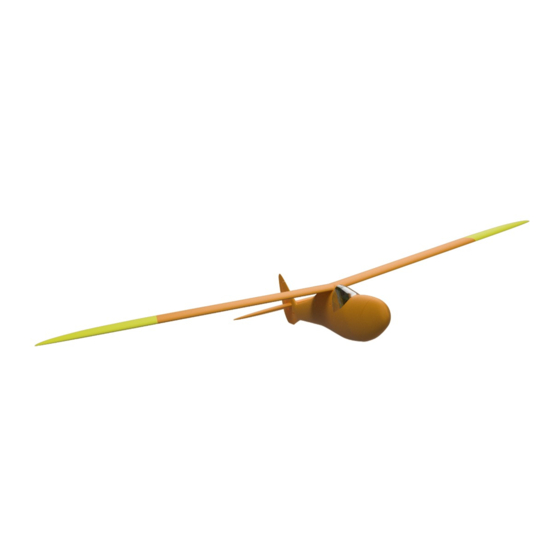
3d-printz Mini Sinbad 1200 Manual - Página 6
Procurar online ou descarregar pdf Manual para Brinquedo 3d-printz Mini Sinbad 1200. 3d-printz Mini Sinbad 1200 6 páginas.

fix the canopy, which are glued into the recesses provided. The nose can be designed
either as a motor or glider nose, with the motospant being used as an intermediate piece
in both versions. The part Fus1 should be glued at the very end of assembling, after
installing the RC Components when you set your CG, as it can be used as a chamber for
trim weights. „Motorspant" can be drilled through with the needed holespacing for the
motor assembly. The motor shaft should be long enough to reach out through the motor
nose.
Deflections
Using a CG of 45mm we recommend following throws:
Aileron: +/- 8mm
Elevator: +/- 7mm
Rudder: Maximum
CG
The right center of gravity is essential for comfortable flight behavior. This is why you
always should test it out yourself. The starting value can be chosen around 45mm behind
the leading edge. If the flight behavior is unstable, move the center of gravity further
forward. If more agile flight behaviors are desired, the center of gravity can be shifted
further back.
Please note that the center of gravity and the throws should be discovered by the pilot
himself for each build!
We wish you a lot of fun flying your Mini Sinbad!
