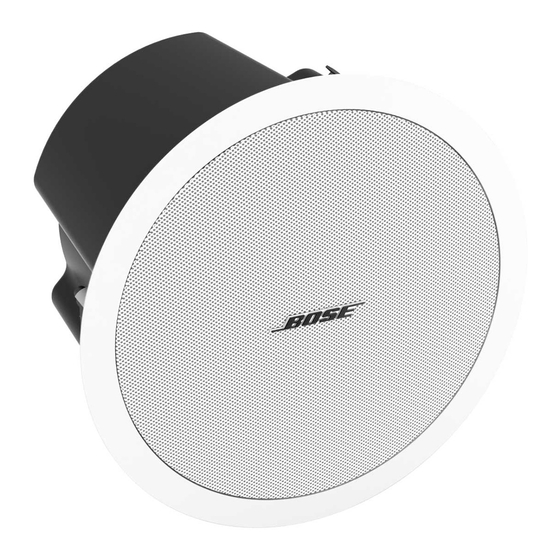
Bose FreeSpace DS 100SE Руководство по эксплуатации - Страница 15
Просмотреть онлайн или скачать pdf Руководство по эксплуатации для Динамики Bose FreeSpace DS 100SE. Bose FreeSpace DS 100SE 21 страница. With ceiling mount bracket
Также для Bose FreeSpace DS 100SE: Руководство пользователя (32 страниц), Руководство по установке (17 страниц), Технический паспорт (8 страниц), Руководство по установке (22 страниц), Руководство по проектированию (4 страниц)

DISASSEMBLY PROCEDURES
8. Transformer Removal
8.1 Perform procedure 7.
8.2 Remove the four screws (5) that secure
the transformer (17) to the enclosure. Lift
out the transformer.
8.3 Make a note of the wiring configuration
and cut the wires that connect to the cross-
over PCB assembly (9) as close to the board
as possible.
9. Loudspeaker Mounting Bracket
Removal
9.1 Using a Phillips-head screwdriver, re-
move the four screws (13) that secure the
mounting bracket to the back of the loud-
speaker.
9.2 Slide the bracket (12) and rubber grom-
met (15) away from the speaker. Slide the
bracket off of the rubber grommet.
FreeSpace
®
DS 100F Flush-Mount
Loudspeaker
Note: Refer to Figure 5 for the following
procedures.
1. Grille Removal
1.1 Using a small tool, such as an awl,
carefully pry the grille (2) away from the front
baffle (8). Lift off the grille.
2. Logo Removal
2.1 Perform procedure 1.
2.2 Slide the retaining washer (3) off of the
logo's post. Lift the logo (1) off of the grille
(2).
3. Tweeter Driver Removal
3.1 Perform procedure 1.
3.2 Using a Phillips-head screwdriver, re-
move the four screws (24) that secure the
2.25" driver (4) to the baffle (8).
3.3 Lift out the driver. Disconnect the two
Faston connectors from the tweeter's termi-
nal strip.
4. Woofer Removal
4.1 Perform procedure 1.
4.2 Using a Phillips-head screwdriver, re-
move the four screws (18) that secure the
woofer (19) to the baffle (8).
4.3 Lift out the woofer. Disconnect the two
Faston connectors from the woofer's termi-
nal strip.
15
