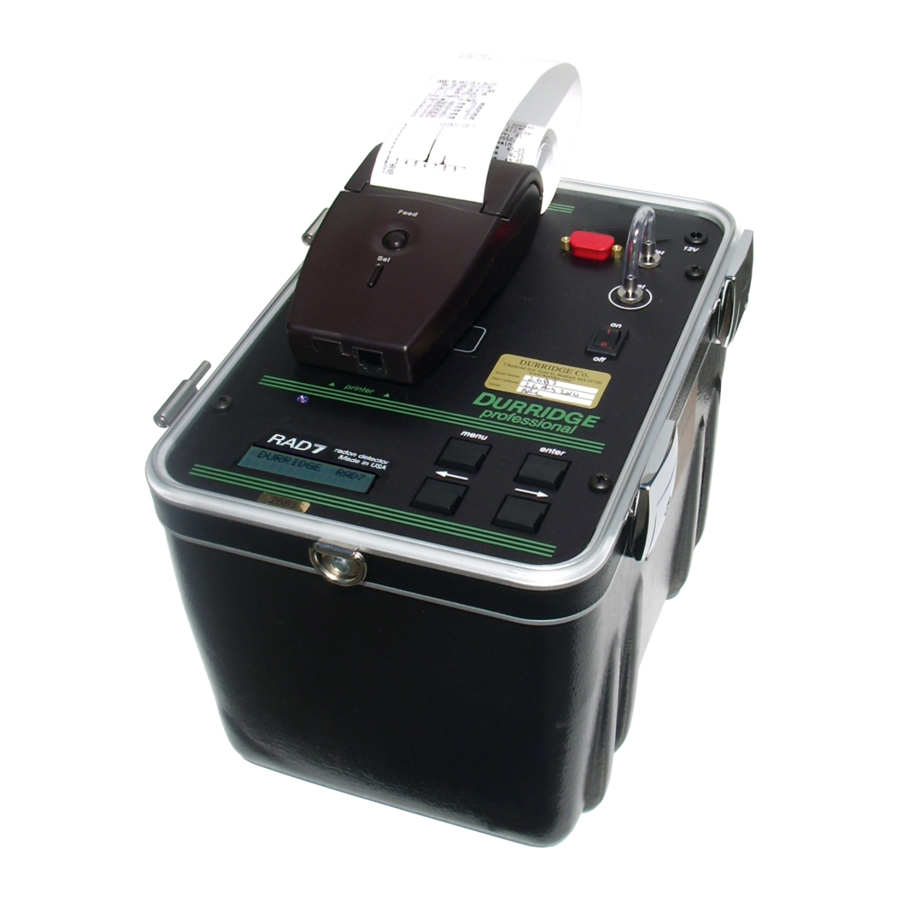
DURRIDGE RAD7 Руководство по подключению - Страница 3
Просмотреть онлайн или скачать pdf Руководство по подключению для Измерительные приборы DURRIDGE RAD7. DURRIDGE RAD7 4 страницы. Passive, slow response radon in water accessory
Также для DURRIDGE RAD7: Руководство по подключению Bluetooth (4 страниц), Руководство пользователя (7 страниц), Руководство пользователя (15 страниц)

Configuring the SD1000 Adaptor
Customers who purchase the Parani SD1000 adaptor from DURRIDGE will receive the adaptor
preconfigured for use with the RAD7. If the adaptor's settings are later modified, or if the adaptor is
purchased from another vendor, it may be necessary to reconfigure the adaptor as described below.
Otherwise reconfiguration is not necessary, and the following instructions can be skipped.
Required items
• Parani SD1000 Serial to Bluetooth Adaptor, power cable, and USB power source
• Computer running Microsoft Windows
• Startech USB to Serial Adaptor Cable (included with the RAD7)
• Startech USB to Serial Adaptor Cable driver software, available from the DURRIDGE website at
https://durridge.com/software/software-drivers/
• Null Modem Adaptor (included with the RAD7) or an equivalent cable
• ParaniWin software for Windows, available from the DURRIDGE website at:
http://durridge.com/software_downloads/drivers_and_utilities/setup_ParaniWin-v1.0.8.exe
Procedure
1. Make sure the Parani SD1000 Serial to Bluetooth Adaptor is powered OFF and make sure that all
of its DIP Switches are set to the OFF position.
2. Install the driver and application software listed in the Required Items section above.
3. Physically connect the SD1000 adaptor to the computer, using the StarTech USB to Serial adaptor
cable and the null modem adaptor, as pictured in Figure 1, below.
Figure 1: Connecting the SD1000 to the computer. This requires the Null Modem adaptor and
StarTech serial to USB adaptor cable.
4. Connect the SD1000 adaptor's USB-based power cable to a powered USB socket, and turn the
SD1000's power switch ON.
5. Launch the ParaniWin application on the computer. A dialog box titled UART Setting will appear,
prompting you to specify a number of parameters, as shown in Figure 2 on the following page.
Configure the settings as follows:
• Specify the Serial Port. It may require trial and error to determine the correct port.
• Set the Baud Rate to 9600.
• Set the Parity None.
• Set the StopBit to 1.
3
Continued on next page
