Empire Sniper Руководство пользователя - Страница 10
Просмотреть онлайн или скачать pdf Руководство пользователя для Оборудование для пейнтбола Empire Sniper. Empire Sniper 14 страниц.
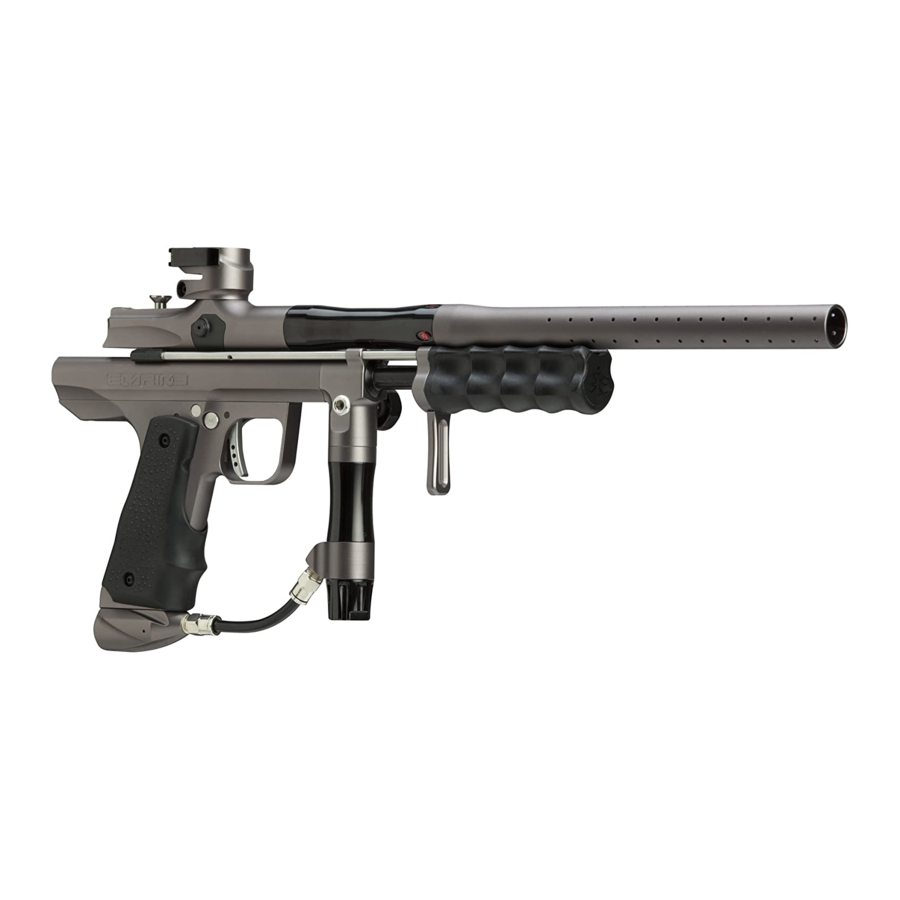
8. MAINTENCE AND LUBRICATION
Caution: Before attempting to perform any maintenance operations, make sure that all
paintballs and propellant sources have been removed from the marker. Install a barrel
blocking device, marker must be unloaded and degassed before any disassembly or
maintenance.
Once your Empire marker is unloaded and the air cylinder is removed, you can use a damp
cloth to wipe off paint, dirt and debris from the outside of your marker. Once your marker
is clean and dry you can re-oil using a light, premium marker oil. Do not use any petroleum
based or aerosol products on your marker, they can damage your markers O-rings.
Cleaning Barrel /Breech Insert and Breech of Marker
• Push a paintball swab, like the Empire Battle Swab, through the barrel and breech
area to clean them.
• Clean the outside of your marker using a paper towel or clean rag, which can be
dampened with warm water.
Lubricating the Bolt /Hammer Assembly
• See section 8 for disassembly instructions.
• Wipe the parts clean and inspect the O-rings for damage or wear, replace if needed.
• Apply one drop of premium marker oil to the O-ring on the Bolt and apply a small
amount to the outer surface of the Hammer.
9. DISASSEMBLY
CAUTION: Before attempting to perform any maintenance operations, make sure that
all paintballs and air sources have been removed from the marker. Install a barrel blocking
device, marker must be unloaded and degassed before any disassembly or maintenance.
Disassembly Tips
• Make sure you have a clean area to work on your marker.
• When removing parts for the first time, do so carefully, so you do not lose any.
• Visit PaintballSolutions.com for additional information.
6
Barrel
• The Barrel is removed by turning it counter-clockwise.
Ball Detent and Covers
• Using a 5/54" Allen wrench, removed the Detent Cover screws.
• Lift off the cover and remove the detents for cleaning or replacement as needed.
Bolt
• Lift the quick release Bolt Pin up and slide the Bolt out the back of the body.
Grips
• Using a 5/64" Allen wrench, remove the 4 grip screws and then remove the grips.
Trigger Frame Assembly
• Disconnect the air hose from either the regulator or ASA macro fitting.
• Using a 9/64" Allen wrench, remove the two frame screws from the Trigger Frame.
• Remove the frame by sliding it downward, it may be necessary to slide the pump
handle back slightly to allow the Auto-Trigger arm to disengage from the Pump Rod.
Air Source Adapter (ASA)
• Disconnect the air hose from either the regulator or ASA macro fitting.
• Remove the grips (see above).
• Using a 3/32" Allen wrench, loosen the two set screws which are located in the
bottom of the frame.
• Once loosen enough the ASA will slide off the frame.
Pump Plate
• To keep the proper pump stroke length, make sure you hold the Pump Rods in
position while loosening the Pump Plate screws.
• To do this place a 5/64" Allen wrench into the side of the Pump Rod and hold its
position while removing the Pump Plate screws with a 7/64" Allen wrench. Repeat
E M P I R E P A I N T B A L L . C O M