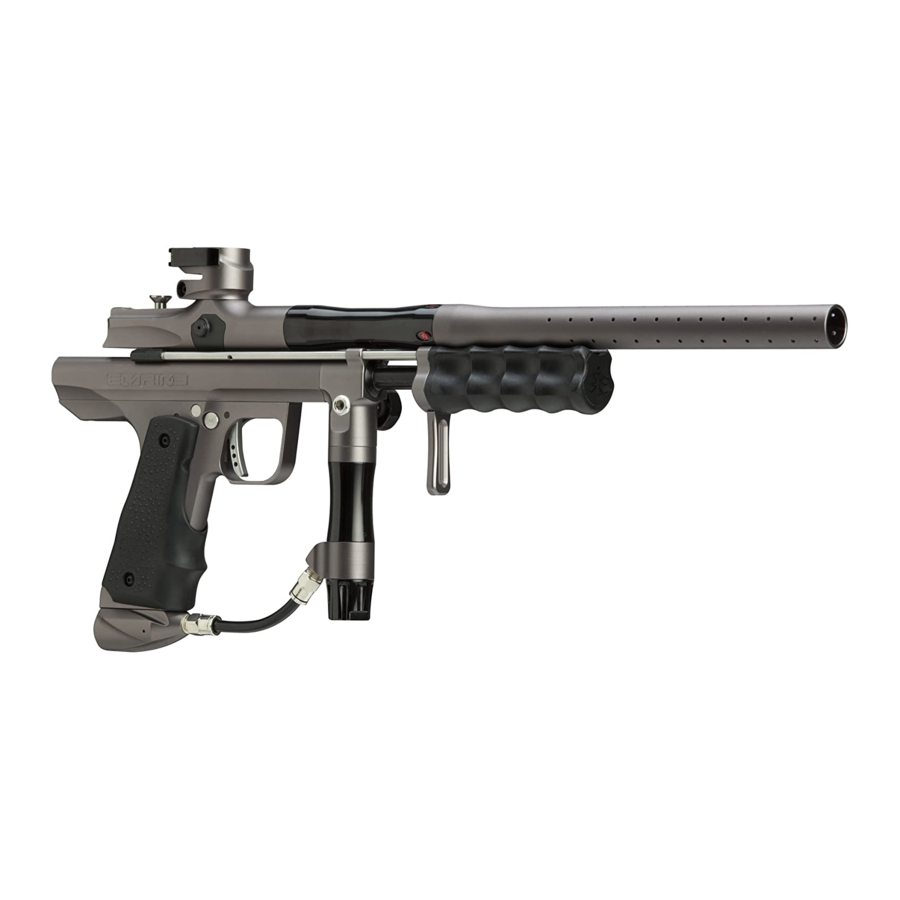
Empire Sniper Руководство пользователя - Страница 8
Просмотреть онлайн или скачать pdf Руководство пользователя для Оборудование для пейнтбола Empire Sniper. Empire Sniper 14 страниц.

Auto-Trigger
The Empire Sniper paintball marker is equipped with an Auto-Trigger. To use the Auto-
Trigger, hold the Trigger in while pumping the marker. Each time the handle is pumped
a paintball will be fired from the marker.
5. MARKER ADJUSTMENT
Always check the velocity of the marker prior to playing paintball. Different playing
fields may have different maximum velocity limits, check the regulations at your local
field. At no time should your marker shoot at velocities above 300 feet-per-second
(91.44 meters-per-second).
Checking Velocity
• Put on an eye protective device designed specifically for paintball and make sure
that anyone within range of the Empire marker does the same.
• While pointing the marker in a safe direction, remove the barrel blocking device.
• Point the Empire marker over a chronograph that will measure the velocity of the
paintballs discharged by the marker.
• Set the marker to "Fire" mode, safety OFF (red visible).
• Load a paintball and fire the marker, checking the reading on the chronograph.
Adjusting Velocity
The velocity can be adjusted via the inline regulator pressure and by the rear
adjustment screw. The rear adjustment screw will compress the main spring making
the Hammer hit the valve harder, this will also increase the tension on the pump
stroke. We recommend that you mainly
adjust the velocity via the inline regulator
(see regulator adjustment) and use the
rear adjustment screw to fine tune the
velocity. Turning the input pressure up
too high may result in lower velocity as the
pressure behind the valve will be too high.
• Use the included 3/16" Allen wrench to
4
turn the rear velocity adjuster (Fig 5.1).
• Turning the rear velocity adjuster inward or clockwise will increase the velocity and
turning it outward or counterclockwise will decrease the velocity.
• Never turn the rear adjustment screw out past flush with the back of the marker body.
• Also matching your barrel back to the paintballs you are using will help raise velocity.
Regulator Adjustment
• The Sniper is factory set at about 225
psi. You can adjust the input pressure
by turning the adjustment screw
located on the bottom of the inline
regulator.
• Use the included 1/4" Allen wrench to
adjust the pressure (Fig 5.2).
• Turn the wrench inward or clockwise
to decrease the input pressure, and
outward or counterclockwise to increase the input pressure.
• When increasing the input pressure, the adjustment change will be visible on the
Pressure Gauge.
• When decreasing the input pressure, the marker will have to be fired to see a
pressure change on the gauge.
Hammer Lug Adjustment
The Hammer Lug controls how far the Trigger must be pulled in order to fire the marker.
If the Hammer Lug is adjusted too high, the marker will not cock as it won't engage the
Sear. If the Hammer Lug is adjusted too low,
the marker will fire too early or not at all.
Hammer Lug adjustment is critical to having
a well tuned marker. We recommend that
the Hammer Lug be set .040"-.050" from
the bottom of the main body. Hammer Lug
adjustment will also affect the Auto-Trigger
Fig. 5.1
activation point.
E M P I R E P A I N T B A L L . C O M
Fig. 5.2
Fig. 5.3
