Brother Inkjet MFC-J4710DW Руководство по быстрой настройке - Страница 3

Просмотреть онлайн или скачать pdf Руководство по быстрой настройке для Программное обеспечение Brother Inkjet MFC-J4710DW. Brother Inkjet MFC-J4710DW 47 страниц. Quick setup guide - spanish
Также для Brother Inkjet MFC-J4710DW: Руководство (36 страниц), Руководство (22 страниц), Руководство по безопасности продукции (17 страниц), Руководство (13 страниц), Руководство (13 страниц), Руководство по безопасности продукции (20 страниц), Технические характеристики (2 страниц), Руководство по быстрой настройке (47 страниц), (Испанский) Guia De Web Connect Manual (38 страниц), (Испанский) Руководство (24 страниц), Руководство по безопасности продукции (на английском языке) (16 страниц), (Испанский) Руководство (12 страниц), (Испанский) Руководство (11 страниц), (Английский) Руководство по быстрой настройке (47 страниц)
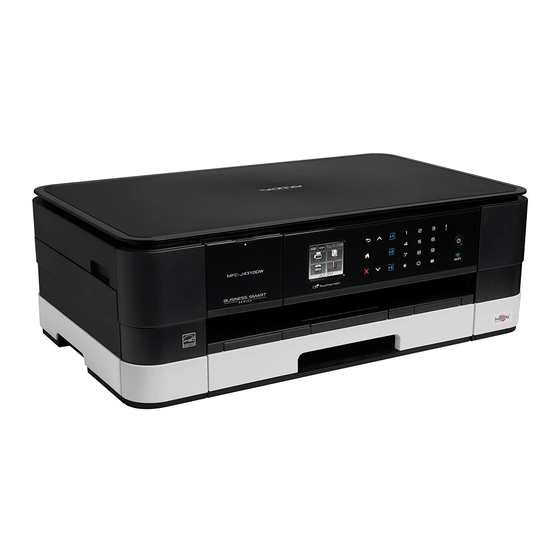
Brother Inkjet MFC-J4710DW Руководство по быстрой настройке
e
Gently put the paper into the paper tray (for
MFC-J4710DW, tray #1) print side down and
top edge first.
IMPORTANT
Be careful that you do not push the paper in too
far; it may lift at the back of the tray and cause
paper feed problems.
f
Gently adjust the paper guides to fit the paper.
Make sure that the paper guides touch the
edges of the paper.
g
Check that the paper is flat in the tray and
below the maximum paper mark a. Close the
output paper tray cover.
h
i
NOTE
• For printing and copying on special media,
1
• (MFC-J4710DW)
Slowly push the paper tray completely into the
machine.
While holding the paper tray in place, pull out
the paper support a until it clicks, and then
unfold the paper support flap b.
open the manual feed slot a on the back of the
machine. Feed only one sheet at a time of
Ledger, Legal, A3, envelopes, or thicker paper
when using the manual feed slot.
For details, see Loading paper in the manual
feed slot in chapter 2 of the Basic User's
Guide.
For information about tray #2 (the lower tray),
see Loading paper in paper tray #2 in chapter
2 of the Basic User's Guide.
2
1
1
3