Brother Inkjet MFC-J4710DW Посібник з швидкого налаштування - Сторінка 3

Переглянути онлайн або завантажити pdf Посібник з швидкого налаштування для Програмне забезпечення Brother Inkjet MFC-J4710DW. Brother Inkjet MFC-J4710DW 47 сторінок. Quick setup guide - spanish
Також для Brother Inkjet MFC-J4710DW: Посібник (36 сторінок), Посібник (22 сторінок), Посібник з безпеки продукції (17 сторінок), Посібник (13 сторінок), Посібник (13 сторінок), Посібник з безпеки продукції (20 сторінок), Технічні характеристики (2 сторінок), Посібник з швидкого налаштування (47 сторінок), (іспанською) Посібник з веб-підключення Guia De Web Connect (38 сторінок), Посібник (іспанською) (24 сторінок), (Англійська) Посібник з безпечності продукції Посібник з безпечності продукції (16 сторінок), Посібник (іспанською) (12 сторінок), Посібник (іспанською) (11 сторінок), (Англійська) Посібник зі швидкого налаштування (47 сторінок)
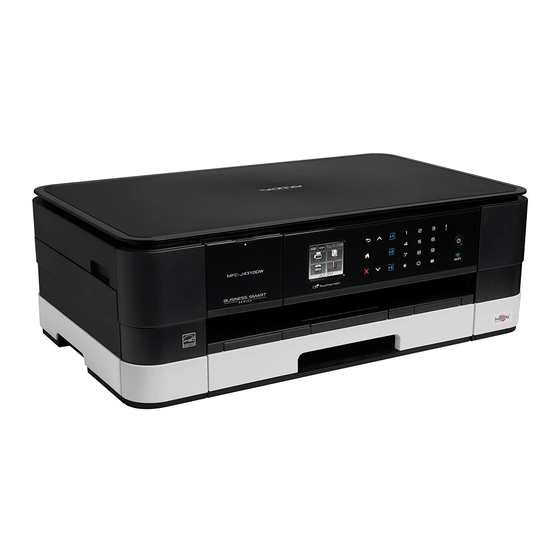
Brother Inkjet MFC-J4710DW Посібник з швидкого налаштування
e
Gently put the paper into the paper tray (for
MFC-J4710DW, tray #1) print side down and
top edge first.
IMPORTANT
Be careful that you do not push the paper in too
far; it may lift at the back of the tray and cause
paper feed problems.
f
Gently adjust the paper guides to fit the paper.
Make sure that the paper guides touch the
edges of the paper.
g
Check that the paper is flat in the tray and
below the maximum paper mark a. Close the
output paper tray cover.
h
i
NOTE
• For printing and copying on special media,
1
• (MFC-J4710DW)
Slowly push the paper tray completely into the
machine.
While holding the paper tray in place, pull out
the paper support a until it clicks, and then
unfold the paper support flap b.
open the manual feed slot a on the back of the
machine. Feed only one sheet at a time of
Ledger, Legal, A3, envelopes, or thicker paper
when using the manual feed slot.
For details, see Loading paper in the manual
feed slot in chapter 2 of the Basic User's
Guide.
For information about tray #2 (the lower tray),
see Loading paper in paper tray #2 in chapter
2 of the Basic User's Guide.
2
1
1
3