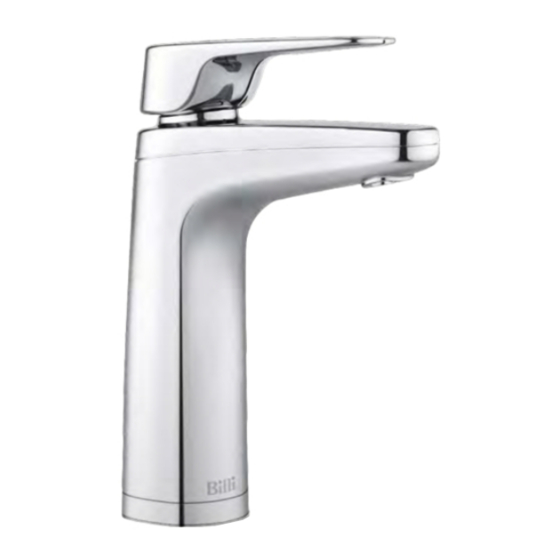
Billi B-5000 Sparkling Руководство по установке - Страница 3
Просмотреть онлайн или скачать pdf Руководство по установке для Система водоснабжения Billi B-5000 Sparkling. Billi B-5000 Sparkling 4 страницы. Tap option xl
Также для Billi B-5000 Sparkling: Руководство по установке (7 страниц), Руководство пользователя (16 страниц)

Installing
dispenser.
—IMPORTANT
This Billi appliance is to be installed by
a licensed tradesperson in accordance
with AS 3500.4 or AS/NZ 3500.4.2 and in
compliance with applicable state regulatory
requirements. For correct operation of this
appliance, it is essential to observe the
manufacturer's instructions.
—Plan dispense position
Determine the position of dispenser
mounting hole in sinktop or benchtop.
Refer to Diagram 2 for clearances allowed.
Dispenser base template may be cut out and
used to assist in correct positioning. Refer
to Diagram 7. Hole size required is 35mm.
—Stainless steel sinktop
A suitable 35mm hole punch (Part no: 857901)
is available as an accessory from Billi Pty
Ltd. If possible, cut hole with die mounted
below sinktop surface so that burr is pulled
downwards. Alternatively remove burr and
radius edge of hole with a fine file. This
allows barbed dispenser mount to slide
smoothly into mounting hole. Oil hole punch
regularly. Lubricate surface to be cut with
detergent.
—Timber/laminate benchtop
Maximum benchtop thickness is 48mm.
Cut 35mm hole in appropriate position.
When drilling through a particle board
benchtop, take care to avoid a large chip
breaking away as drill breaks through
underside surface. We recommend drilling
a small pilot hole through the benchtop,
partially drilling the 35mm hole from
underneath and then completely drilling the
hole from above. The large 30mm washer
supplied may be used to secure barb where
underside particle board benchtop has
chipped away.
—Fit dispenser base
—Cut a 35mm hole in sinktop or benchtop.
Remove burr if protruding upwards.
—Press barbed mounting shaft through
mount hole. Finger tighten nut.
—Insert barb locking bush as shown
in Diagram 4.
—Ensure barb is centred in mount hole
before tightening. Check position of base
ring and gasket.
—Moderately tighten locking nut using
multigrips or spanner. Take care to avoid
overtightening nut which may break the
plastic threaded shaft.
—Cut off excess threaded shaft with
a hacksaw.
—IMPORTANT
Remove burrs and check internal bore
is completely smooth.
—Fit dispenser head assembly
—Lay dispenser head assembly alongside
mounting base assembly.
—Feed dispenser tubing and loom through
centre hole in the following order:
—Dispenser power cord.
—Grey vent silicone tube. Feed tube until
reducing join passes through mount
assembly – see Diagram 6.
—Red and blue silicone tubing. To assist
feeding the tubing, we recommend
using silicone spray lubricant. Do not
attempt to force tubing through with a
pointed object as silicone tube is easily
punctured. Check tubing is not kinked
or twisted.
—Turn dispenser head assembly to
approximately 60° from the straight
ahead position of dispenser base.
Slide head assembly onto base assembly
whilst gently pulling tubing downwards
from underneath to prevent tubing
bunching and kinking. Mounting lugs will
pass nut and slide down the 3 grooves
on the swivel bearing.
—Once fully down, turn dispenser to straight
ahead position. Fit chrome plated M4
retaining screw to lower rear threaded
hole and tighten using the allen key
supplied. Check dispenser now swivels
smoothly 45° in each direction.
locking nut
base casting
ensure burr is
removed &
edge radiused
barbed
mounting
shaft
bush in position
Diagram 4
remove burrs after cutting and
ensure internal bore is smooth
cut off
excess
thread
Diagram 5
grey silicone
reducing join
tubing
Diagram 6
dispenser base
template
Diagram 7
swivel
bearing
gasket
washer if
required
