Billi B-5000 Sparkling Руководство по установке - Страница 4
Просмотреть онлайн или скачать pdf Руководство по установке для Система водоснабжения Billi B-5000 Sparkling. Billi B-5000 Sparkling 4 страницы. Tap option xl
Также для Billi B-5000 Sparkling: Руководство по установке (7 страниц), Руководство пользователя (16 страниц)
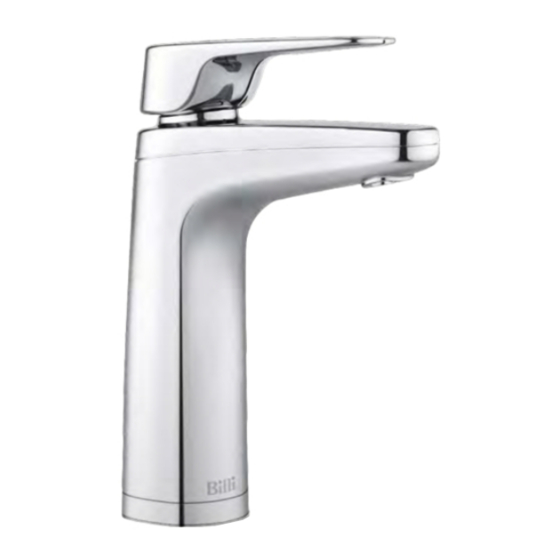
Installing
underbench
module.
—Flush water supply
Flush water supply pipework before
installing the underbench unit by connecting
450mm flexible braided hose to the supply
tap and running water into a bucket.
—Install underbench unit
Take care to observe minimum clearances.
This is particularly important with air-cooled
models. Ensure there is adequate access
to service the unit.
—Connect dispenser tubing
and electrical plug
Connect all tubing and electrical plug as
shown in Diagram 8 and 9. Ensure correct
orientation of dispenser power plug before
insertion. Trim tubes to correct lengths using
a sharp knife or plastic tube cutter. Avoid
leaving excess tubing which will sag, trapping
water. Fit spring clamps supplied to retain
silicone rubber tubing to barbed fittings
—IMPORTANT
Boiling outlet (red) and vent tube (grey)
must not be kinked and must be installed
with a continual fall.
—Commission the System
a) Turn blue temperature control knob
to OFF.
b) Turn electricity supply ON at wall outlet.
c) Turn water supply tap ON.
d) Check that there are no leaks.
—Enter pipe length calibration mode
To enter SETUP mode, turn on the unit and
wait for normal operation. Now depress
both the Hot and Cold levers and while they
are down, press and hold the safety switch
for 3 seconds until the display has changed
to yellow, then release the switch and both
levers. Once in SETUP mode, repeat the
procedure for entering setup – this will take
you to the pipe length calibration mode. The
red and blue tap indicators will now blink:
blue slowly and red faster.
—To change the pipe length
—Press and release the hot lever to reduce
the pipe length.
—Press and release the cold lever to
increase the pipe length.
—After each press wait for the tap to
demonstrate the dispense operation.
No water should be dispensed when
the correct length is selected.
The best way to determine the correct
pipe length setting is to increase the length
(by pressing the cold lever) until a splash of
water is observed, then decrease the length
(by pressing the hot lever) until no splash
is observed.
dispenser
vent
boiling
chilled
power
(red)
(blue)
cord
red cap
don not move
hot vent
(grey)
Diagram 8 and 9
Press the safety switch to save the new
settings.
—Flush the unit
—Latch cold lever into the UP position.
—When cold water stops running, return cold
lever to OFF position.
—Wait for 10 minutes.
—Latch cold lever into the UP position.
—When cold water stops running, return cold
lever to OFF position.
—Latch hot lever into the UP position.
—When hot water stops running, return hot
lever to OFF position.
Billi Pty Ltd
42 Lucknow Crescent, Thomastown
Victoria 3074 Australia
Telephone +61 3 9469 0400
Facsimile +61 3 9469 0499
www.billihome.com.au
WARNINGS.
—For continued safety of this appliance
it must be installed, operated and
maintained in accordance with the
manufacturer's instructions.
—Your appliance should be installed
by a suitably qualified tradesperson.
—For correct operation of this appliance
it is essential to observe the instructions
as outlined in this booklet.
—Do not use this appliance with water that
is microbiologically unsafe or with water
of unknown quality without adequate
1/2" stop tap
disinfection before the system. Systems
(installed by plumber)
certified for cyst reduction may be used
on disinfected water that may contain
filterable cysts.
—Filter replacement must be performed
at intervals of not more than 6 months.
—Use this appliance only as directed
in these instructions and only for its
designed purpose.
—This appliance is not intended for use by
persons (including children) with reduced
physical, sensory or mental capabilities,
or lack of experience and knowledge,
unless they have been given supervision
or instruction concerning use of the
appliance by a person responsible for
water
their safety.
supply
—Children should be supervised to ensure
that they do not play with the appliance.
—DANGER: The operation of the thermal
cut-out indicates a possibly dangerous
situation. Do not reset the thermal cut-out
until the water heater has been serviced
by a qualified person.
—WARNING: Do not connect any restrictor
or pressure relief device to the vent pipe
of this water heater if installed.
—If the supply cord is damaged, it must be
replaced by the manufacturer, its service
agent or similarly qualified persons in
order to avoid a hazard.
—New hose-sets supplied with the appliance
are to be used and old hose-sets should
not be re-used.
Designed and manufactured in Australia.
As Billi Pty Ltd has a policy of continual
improvement, all details are subject
to change without notice. All goods
are sold subject to our published terms
and conditions. Billi is a registered
trademark. 0610