HP ProCurve 1600M Дополнение к руководству - Страница 13

Просмотреть онлайн или скачать pdf Дополнение к руководству для Переключатель HP ProCurve 1600M. HP ProCurve 1600M 28 страниц. Redundant power supply
Также для HP ProCurve 1600M: Технический паспорт (12 страниц), Прочитай меня сначала (8 страниц), Руководство рецензента (27 страниц), Дополнительное руководство (2 страниц), Дополнительное руководство (2 страниц), Руководство по установке (28 страниц), Руководство по установке (36 страниц), Руководство по установке (28 страниц), Руководство по быстрой настройке (2 страниц), Руководство по быстрой настройке (4 страниц), Руководство пользователя (8 страниц), Прочитай меня сначала (16 страниц), Установка и удаление (2 страниц), Руководство по установке (12 страниц), Руководство по планированию и реализации (40 страниц), Инструкции по разборке изделия в конце срока службы (2 страниц), Руководство по установке (46 страниц), Руководство по диагностике (2 страниц), Инструкции по разборке (2 страниц)
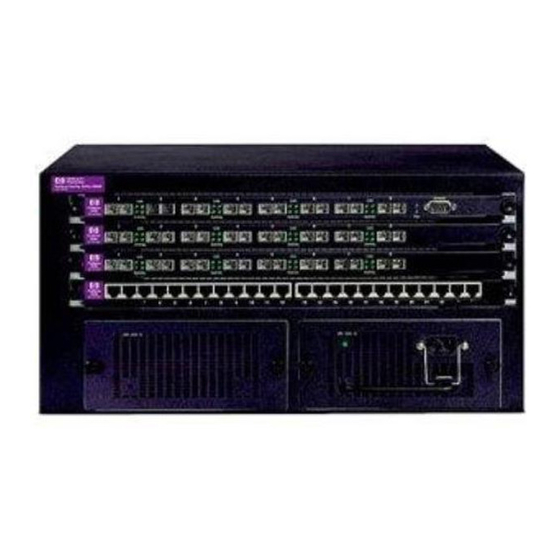
HP ProCurve 1600M Дополнение к руководству
5.
Enter the Hello interval or leave the field unchanged to use the default. The software fills in the default after
you select Add. In this example, leave the field unchanged.
6.
Select the mode (Owner or Backup). Select Owner in this example.
7.
Select Enable to activate the VRRP entry after you select Add.
8.
Enter the interface's IP address in the IP Address List field. In this example, enter 192.53.5.1.
9.
Enter the virtual interface if applicable. (In this example, the VRRP interface is not defined on a virtual
interface.)
10. Select the track port. In this example, select 2/4.
11. Select Add to add the entry.
Figure 3
Configuration panel for owner
Configuring Router2 Using the Web Management Interface
To configure VRRP Router2 in Figure 2 after you enable VRRP:
1.
Select VRRP from the System configuration sheet. The panel shown in Figure 4 appears.
NOTE: If you have already created VRRP definitions on the router, the VRRP Virtual Router panel is
displayed instead. In this case, click on Add VRRP Virtual Router.
2.
Select the interface from the pulldown list on the Port field. In this example, select 1/5.
3.
Enter the VRID in the Router ID field the Router ID field. In this example, use the default value, 1.
4.
Enter the track priority or leave the field blank to use the default. In this example, enter 19.
Configuring VRRP
13