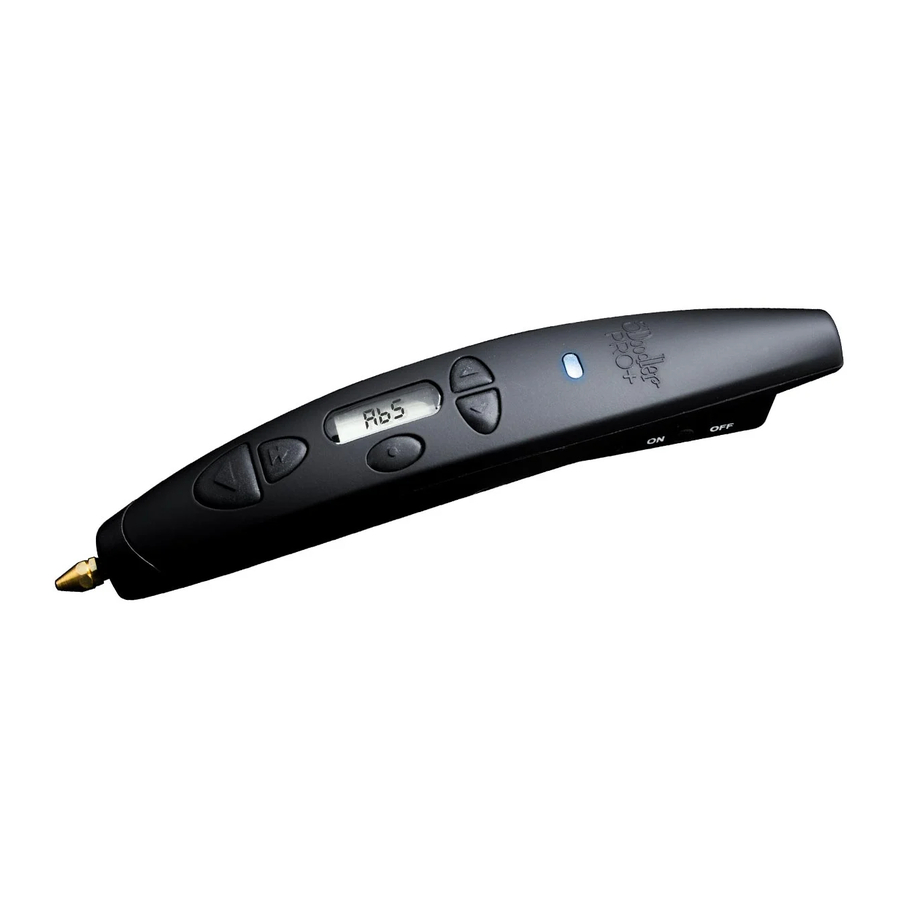
3Doodler PRO+ Руководство пользователя - Страница 2
Просмотреть онлайн или скачать pdf Руководство пользователя для Аксессуары 3Doodler PRO+. 3Doodler PRO+ 16 страниц.

SECTION 1: WARNINGS
• The Nozzle and Nose Cone of the 3Doodler PRO+
reach very high temperatures and will cause burns if
touched. DO NOT touch the Nozzle or Nose Cone, as
it can result in injury!
• DO NOT allow the Nozzle or Nose Cone near or in
contact with flammable materials.
• Inform others in the area that the pen is very hot and
should not be touched.
Unplug and set the ON/OFF Switch
to OFF when not in use or before
storing.
Allow the Nozzle and Nose Cone to
cool completely before storing.
The Unblocking Tool can become hot.
DO NOT touch the metal part of the
Unblocking Tool after using it to clean
your 3Doodler PRO+, as it can result
in injury!
DO NOT use the 3Doodler PRO+ near
bathtubs, showers, basins or other
vessels containing water. This could
result in death due to electric shock.
In an environment with electrostatic
discharge, the 3Doodler PRO+ may
malfunction and require the user to
reset the device.
The 3Doodler PRO+ should only
be used with filaments approved
by us, which include 3Doodler-
branded ABS, PLA, FLEXY, NYLON,
METAL, and WOOD filaments. The
3Doodler PRO+ is not compatible
with 3Doodler Start filaments or
third party filaments of any kind.
Misuse of your 3Doodler PRO+,
setting your pen to the wrong
heating temperature, and/or use of
non-approved filaments or other
materials may result in damage to
your pen or injury to you, and will
void your warranty.
Injuries to the user may include, but
are not limited to, harm sustained
from inhaling substances that are not
suitable for heating, or burns from
flammable materials used in the
3Doodler PRO+.
WARNING: This 3D Printing Device -
when used with a styrene filament
(ABS / HIPS / or PC-ABS) - can expose
you and others in the same room to
styrene, which is a chemical known
to the State of California to cause
cancer. For more information, go to
www.P65Warnings.ca.gov.
ALWAYS OPERATE YOUR 3D
PRINTING DEVICE IN A WELL-
VENTILATED AREA.
ADULT USE ONLY. KEEP OUT OF REACH OF CHILDREN.
Disposal of this product
At the end of your 3Doodler PRO+ pen's life, please do not dispose of it in
your general household waste. In order to prevent possible harm to the
environment or human health from uncontrolled waste disposal, please
dispose of your 3Doodler PRO+ separately in accordance with local laws and
regulations. For more information on the separate collection systems for
waste electrical and electronic equipment, please contact your local municipal
authority. You can also contact the retailer from which you purchased your
3Doodler PRO+, who may have a recycling service, or be part of a specific
recycling program that you can use.
SPECIFICATIONS: Specifications are subject to change and improvement
without notice.
Output Power: 10.5W, Output Voltage: 5V, Input Voltage: 100~240V
Output: 2.1 Amp
CARE & MAINTENANCE: For care, maintenance information, and more advice
on how to use your 3Doodler PRO+, please refer to our website:
the3Doodler.com. To troubleshoot, please proceed to Section 6 or email us at:
2
SECTION 2: GETTING STARTED
WITH 3DOODLER PRO+
We created this User Manual as a step-by-step guide to
get you comfortable with your 3Doodler PRO+ pen and its
features. Once you are familiar with these steps, you will
be able to Doodle with confidence, and like a pro. Skipping
steps may result in a less enjoyable experience with your
3Doodler PRO+.
Controls and Interface
6
4
5
7
3
2
1
Feed Button
1
2
Reverse Button
3
Menu/ Enter Button
4
Navigation Up Button
5
Navigation Down Button
6
Indicator Light
7
LCD Screen
ON/OFF Switch
8
9
Maintenance Panel
10
Power Port
LCD Display
Navigating and Selecting Settings: You can navigate
through the menu using buttons
(Navigation Up), and
5
the diagram above. Scroll through the menu with the
Navigation Buttons, then select the settings with the
Menu/Enter button.
Returning to Main Menu: When in any mode, you can
return to the main menu by holding down on the
Enter) button for 3 seconds.
Changing Speed: You can use the Navigation Buttons to
change the speed of the pen at any time when you are in a
mode. Note that you must click the
after selecting a speed for the pen to register the new
speed and return to the temperature display.
Display Text
The key below shows the LCD display text for the various
settings. You can choose between pre-set temperature
modes, which are optimized for each filament type, or
custom mode for more experimental Doodling (See Section
2, Step 8 for details on using Custom Mode).
CUS - Custom mode, you can
enter custom and set your
temp and speed
OOD - Wood
BRO - Bronze
COP - Copper
AbS - ABS
8
9
Indicator Light
Red when heating up or when
a setting is not selected (Note
that the pen will not heat up
until you select your filament
type and speed)
Blue when feeding on a pre-set
temperature mode
Green in custom mode
Flashing Blue when reversing
on a pre-set temperature mode
Flashing Green when reversing
in custom mode
3
(Menu/Enter),
(Navigation Down), as seen in
3
(Menu/Enter) Button
PLA - PLA
NYL - Nylon
FLE - Flexy
SEL - Select
Temperature Display
(allows you to switch
from Fahrenheit to
Celsius)
3
10
4
3
(Menu/
