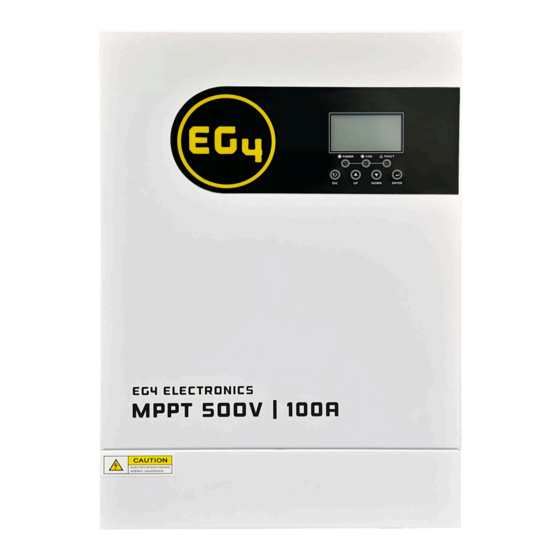
EG4 MPPT100-48HV Руководство пользователя - Страница 5
Просмотреть онлайн или скачать pdf Руководство пользователя для Зарядное устройство EG4 MPPT100-48HV. EG4 MPPT100-48HV 10 страниц. Mppt charger 100a 48vdc

Mount the unit by attaching with two screws. It is recommended to use M4 or M5 screws.
Battery and PV Connections:
NOTE:
This MPPT charger has a built-in battery breaker on the side panel of the unit for added safety,
protection, and to assist with code compliance. (For local codes, check with your local AHJ.)
Ensure the battery breaker is in the off position before installing battery cables.
WARNING! We recommend all wiring be performed under the guidance of a
licensed professional.
WARNING! It is very important for system safety and efficient operation to use
the appropriate cable size for battery connections. To reduce the risk of injury,
please use the recommended cable, stripping length (L2), and tinning length (L1)
in the table below.
Recommended battery cable, stripping length (L2), and tinning length (Ll):
Maximum Battery Wire Size
Model
Amperage capacity AWG/Max
MPPT100-48
100A
Please follow these steps to ensure proper battery connection:
1. Remove insulation sleeve 18 mm (0.7") for positive and negative cables based on recommended stripping
length.
2. Connect all the batteries to the system. Insert the battery cable into the battery connector of the charger
and make sure the bolts are tightened with a torque of 2-3 Nm.
3. Make sure the polarity at both the battery and the charger is correct. Verify that the battery cables are
torqued to the proper value of the battery terminals to avoid loose connections.
Recommended
100AH 3AWG/2AWG 6'/l.8m up to 15'/4.6m
L1
{mm/in.) {mm/in.)
Wire Lenqth
3/0.1"
4
Stripping Length:
+
L 2
Torque
value
2~ 3 Nm
18/0.7"
