Dremel 3D20 Idea Builder Hızlı Başlangıç Kılavuzu - Sayfa 2

3D Yazıcılar Dremel 3D20 Idea Builder için çevrimiçi göz atın veya pdf Hızlı Başlangıç Kılavuzu indirin. Dremel 3D20 Idea Builder 4 sayfaları. Unclogging
Ayrıca Dremel 3D20 Idea Builder için: Hızlı Başlangıç Kılavuzu (8 sayfalar), Hızlı Başlangıç Kılavuzu (2 sayfalar), Hızlı Başlangıç Kılavuzu (8 sayfalar), Hızlı Başlangıç Kılavuzu (4 sayfalar), Hızlı Başlangıç Kılavuzu (2 sayfalar), Sorun Giderme Kılavuzu (2 sayfalar), Hızlı Başlangıç Kılavuzu (2 sayfalar), Hızlı Başlangıç Kılavuzu (2 sayfalar), Hızlı Başlangıç Kılavuzu (2 sayfalar)
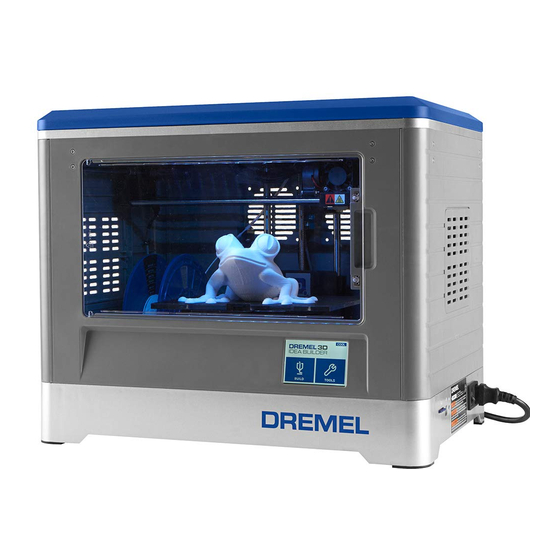
Dremel 3D20 Idea Builder Hızlı Başlangıç Kılavuzu
Step 2: Disconnect all electrical wires from
the extruder
1. Disconnect all four wires from the extruder, as pictured.
Always be sure to pull the connectors by the plastic, and
never by the wires. Pulling by the wires can damage the
connectors.
Step 3: Remove the front fan and extruder
motor
1. Unscrew the two screws in front of the extruder fan using
the 2.5mm hex wrench.
2. Remove the front fan and heat sink, ensuring that the parts
attached to the screws do not fall. These parts can be
removed from the extruder as an assembly.
3. Remove the motor from the back of the extruder.
Step 4: Remove the turbo fan from the side of
the extruder
1. Remove the screw on the bottom left corner of the
extruder, as shown below. Removing this screw also
removes the fan baffle from the extruder.
2. Remove the back left screw from the extruder.
3. Pull the turbo fan away from the mounting carriage.
2