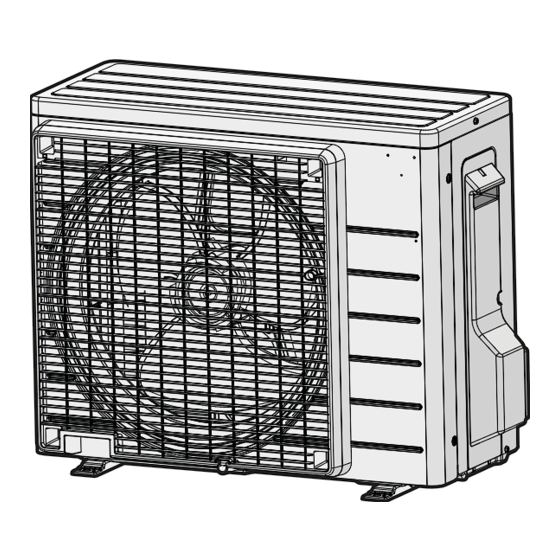
IMPORTANT : * The figures shown in the table are for information purpose only. They should be checked and selected
IMPORTANT : * The figures shown in the table are for information purpose only. They should be checked and selected
to comply with the local/national codes of regulations. This is also subject to the type of installation and
to comply with the local/national codes of regulations. This is also subject to the type of installation and
conductors used.
conductors used.
** The appropriate voltage range should be checked with label data on the unit.
** The appropriate voltage range should be checked with label data on the unit.
Indoor Unit
Indoor Unit
Interconnection
Interconnection
Terminal Block
Terminal Block
cable
cable
1
1
2
2
3
3
There must be an all
There must be an all
pole disconnection in
pole disconnection in
the supply mains with
the supply mains with
a contact separation of
a contact separation of
at least 3mm.
at least 3mm.
• All wires must be firmly connected.
• All wires must be firmly connected.
• Make sure all the wire do not touch the refrigerant pipings, compressor or any moving parts.
• Make sure all the wire do not touch the refrigerant pipings, compressor or any moving parts.
• The connecting wire between the indoor unit and the outdoor unit must be clamped by using provided cord anchorage.
• The connecting wire between the indoor unit and the outdoor unit must be clamped by using provided cord anchorage.
• The power supply cord must be equivalent to H07RN-F which is the minimum requirement.
• The power supply cord must be equivalent to H07RN-F which is the minimum requirement.
• Make sure no external pressure is applied to the terminal connectors and wires.
• Make sure no external pressure is applied to the terminal connectors and wires.
• Make sure all the covers are properly fixed to avoid any gap.
• Make sure all the covers are properly fixed to avoid any gap.
• Use round crimp-style terminal for connecting wires to the power supply terminal block. Connect the wires by matching to
• Use round crimp-style terminal for connecting wires to the power supply terminal block. Connect the wires by matching to
the indication on terminal block. (Refer to the wiring diagram attached on the unit).
the indication on terminal block. (Refer to the wiring diagram attached on the unit).
• Used the correct screwdriver for terminal screws tightening. Unsuitable screwdrivers can damage the screw head.
• Used the correct screwdriver for terminal screws tightening. Unsuitable screwdrivers can damage the screw head.
• Over tightening can damage the terminal screws.
• Over tightening can damage the terminal screws.
• Do not connect wire of different gauge to same terminal.
• Do not connect wire of different gauge to same terminal.
• Keep wiring in an orderly manner. Prevent the wiring from obstructing other parts and the terminal box cover.
• Keep wiring in an orderly manner. Prevent the wiring from obstructing other parts and the terminal box cover.
Connect wires of the
Connect wires of the
same gauge to both sides.
same gauge to both sides.
Outdoor Unit
Outdoor Unit
Terminal Block
Terminal Block
1
1
2
2
3
3
L
L
N
N
Power Supply Cable
Power Supply Cable
Power
Power
Supply
Supply
N / L2
N / L2
L / L1
L / L1
Main
Main
Fuse /
Fuse /
Switch
Switch
Circuit
Circuit
Breaker
Breaker
Attach insulation sleeve
Attach insulation sleeve
Round crimp-style terminal
Round crimp-style terminal
WIRING
WIRING
Model
Model
Voltage range**
Voltage range**
Power supply cable size*
Power supply cable size*
Number of conductors
Number of conductors
Interconnection cable size*
Interconnection cable size*
Number of conductors
Number of conductors
Recommended fuse /
Recommended fuse /
circuit breaker rating**
circuit breaker rating**
Electric wire
Electric wire
Do not connect wires of the
Do not connect wires of the
same gauge to one side.
same gauge to one side.
Indoor (FTXC)
Indoor (FTXC)
20/25/35D 50/60/71D
20/25/35D 50/60/71D
Outdoor (RXC)
Outdoor (RXC)
20/25/35D 50/60/71D
20/25/35D 50/60/71D
220-240V/~/50Hz +
220-240V/~/50Hz +
mm
mm
2
2
mm
mm
2
2
A
A
Do not connect wires
Do not connect wires
of different gauges.
of different gauges.
ENGLISH
ENGLISH
1.5
1.5
2.5
2.5
3
3
3
3
1.5
1.5
1.5
1.5
4
4
4
4
16
16
16
16
8
8

