Contacta STS-K071 Kurulum ve Kullanım Kılavuzu - Sayfa 8
Mikrofon sistemi Contacta STS-K071 için çevrimiçi göz atın veya pdf Kurulum ve Kullanım Kılavuzu indirin. Contacta STS-K071 20 sayfaları. Window intercom system - speaker and microphone pod
Ayrıca Contacta STS-K071 için: Kurulum ve Kullanım Kılavuzu (16 sayfalar)

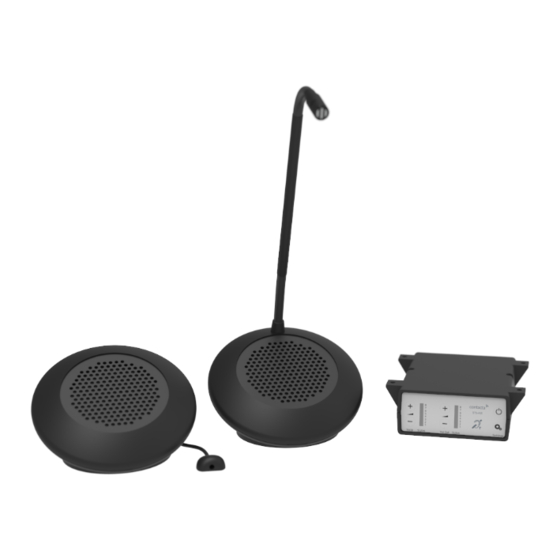
Microphone & Speaker Installation
Dual Speaker Pod - STS-K070
1. Place a speaker pod on the customer side of the counter top, ensuring it
does not cause an obstruction.
2. Place a mouse microphone on the customer side of the counter top,
ensuring it does not cause an obstruction and is as close to customers
as possible. It should ideally be no more than 300mm away from a staff
member.
3. Place a speaker pod on the staff side of the counter top, ensuring it does
not cause an obstruction.
4. Place a mouse microphone on the staff side of the counter top, ensuring it
does not cause an obstruction and is as close to customers as possible.
5. Speaker pods can be either free standing or fixed. Move to step 8 if you
do not wish to fix the pods to the counter.
6. Use cable management holes in the counter to run speaker pod and
mouse microphone cables to the amplifier. If there are not already cable
management holes, drill suitable locations near the rear of both the staff
and customer sides of the counter.
7. If fixing the units to a surface, remove the top of the pods to gain access
to the fixing points. Mark the two fixing points on the bottom of both
speaker pods. Then mark two cable holes to be drilled, one for both the
customer side and the staff side.
8. Ensure there will be access to retrieve the cables then drill the holes.
9. Fix the pods to their respective counters.
10. Feed the wires through the cable management holes.
11. Route all cabling neatly to the amplifier location on the staff side.
8
