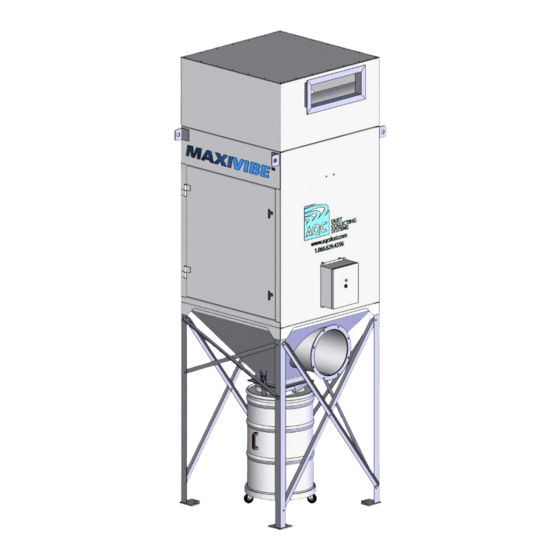
AQC MAXIVIBE AMV-450 Kullanıcı El Kitabı - Sayfa 14
Toz Toplayıcı AQC MAXIVIBE AMV-450 için çevrimiçi göz atın veya pdf Kullanıcı El Kitabı indirin. AQC MAXIVIBE AMV-450 20 sayfaları.

14.2
Installation of the filter envelope
1 . Open the access door to filter envelope and
unhook the rubber bands holding the filter
envelope to the shaker frame (Figure 1).
2 . Remove the rubber bands from the filter
envelope.
3 . Unbolt the lower frame of the filter cabinet
(Figure 2).
4 . Remove the filter envelope and its frame from
the cabinet (Figure 3).
5 . Unbolt stop bars from the frame (Figure 4).
4. Install a ground wire to the unit.
6 . Align the new filter envelope with the frame and
install the stop bars.
7. Install the filter envelope and frame back into
the collector. Tighten the bolts securely to
ensure the frame is sitting tightly onto the seal.
8 . Slide the rubber bands back into the new filter
envelope and hook onto the shaker frame.
(Figure 5).
5. Lift the filter cabinet using the lift lugs. Using spikes, position the cabinet
9 . Close and lock access door.
RUBBER BAND
6. Lower the filter cabinet onto the dust storage section and align the bolt holes.
7. Attach the filter cabinet to the dust storage section using the supplied nuts,
Figure 3
FILTER ENVELOPE
14
WARNING
Apply two strips of butyl adhesive on the dust storage section upper
outline. One strip should be applied inward of the bolt holes and one
strip outward of the bolt holes (Figure 4).
above the dust storage section making sure to align the cabinet bolt holes
with the dust storage bolt holes.
WARNING
The use of a spreader is recommended to avoid
Figure 5
damages to the filter cabinet.
SHAKER SHAFT
washers and bolts. Tighten bolts for an adequate seal.
Support
SHAKER FRAME
Drawing 5
Support
plates
Unside bag
removal
legs
Shaker type dust collector
4. Install a ground wire to the unit
Figure 1
WARNING
Apply two strips of buty
outline. One strip shoul
strip outward of the bo
5. Lift the filter cabinet using the
Baghouse Dust Collector
above the dust storage section
with the dust storage bolt holes
Figure 2
Photo 1
WARNING
The use of a spreader is
damages to the filter ca
6. Lower the filter cabinet onto th
7. Attach the filter cabinet to the
washers and bolts. Tighten bolt
Figure 3
Photo 2
Photo 3
Figure 4
Cross braces
Photo 4
Support
plates
Support
legs
MA
