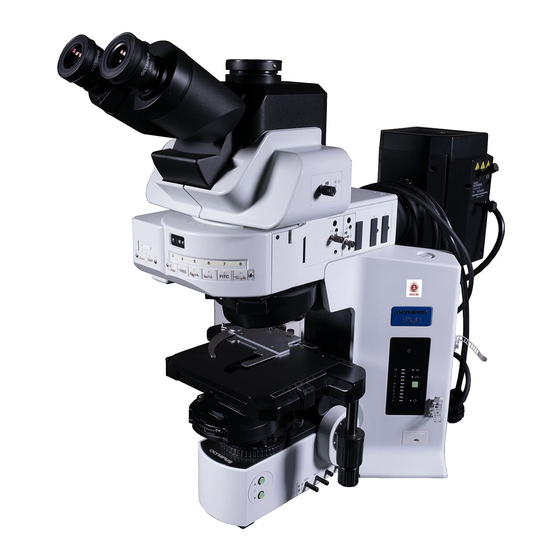
Olympus BX61 Talimatlar Kılavuzu - Sayfa 26
Mikroskop Olympus BX61 için çevrimiçi göz atın veya pdf Talimatlar Kılavuzu indirin. Olympus BX61 40 sayfaları. Motorized system microscopes

TROUBLESHOOTING GUIDE
Under certain conditions, performance of the unit may be adversely affected by factors other than defects. If problems occur,
please review the following list and take remedial action as needed. If you cannot solve the problem after checking the
entire list, please contact your local Olympus representative for assistance.
Problem
1. Optical System
a) Bulb does not light.
b) Bulb operates, but field of view re-
mains dark.
c) Field of view is obscured or not
evenly illuminated
d) Dirt or dust is visible in the field of
view.
e) Visibility is poor.
· Image is not sharp.
· Contrast is poor.
· Details are indistinct.
· Image glares.
22
Cause
Power cord of BX-UCB is unplugged.
Main switch of BX-UCB is not on.
Lamp ON-OFF switch on the base of
BX61 is not on.
Bulb is burned out.
Transmitted/reflected light switch is set
to reflected light (
).
Aperture and field iris diaphragms are not
opened wide enough.
Condenser is lowered too much.
Light path selector knob is set to the
position.
Light path selector knob is in an posi-
tioned halfway.
Revolving nosepiece is not correctly en-
gaged.
Condenser is not attached properly.
Revolving nosepiece is not attached
properly.
An objective that falls outside of the
condenser's illumination range is used.
Condenser is not properly centered.
Field iris diaphragm is stopped down too
far.
Bulb is not mounted correctly.
Dirt/dust on the eyepiece
Dirt or the to surface of the condenser
Dirt/dust on the specimen
A non-UIS2/UIS objective is used.
Condenser is lowered too far.
Aperture iris diaphragm is stopped down
too far.
Revolving nosepiece is not mounted
properly.
Remedy
Insert power plug firmly into power
outlet.
Set main switch to " I " (ON).
Set the lamp ON-OFF switch to ON.
Replace bulb with a new specified
bulb.
Set the switch to
(transmitted light
illumination).
Adjust them to proper sizes.
Adjust the condenser height position.
Move the knob to the
or
tion.
Set the knob according to the obser-
vation method.
Make sure that the revolving nose-
piece clicks properly into place.
Re-attach it.
Push the side dovetail all the way un-
til it is stopped.
Use a condenser to match the pur-
pose.
Center the condenser.
Open the field iris diaphragm until it
circumscribes the field.
Push the pins of halogen bulb all the
way until the stop position.
Clean thoroughly.
Use only UIS2/UIS series objectives
with this microscope.
Adjust the condenser height position.
Open aperture iris diaphragm.
Push the slide dovetail all the way until
it is stopped.
Page
–
–
–
31
8
19/20
19
posi-
17
17
–
32
–
20
19
19
31
3
27/28
19
20
–
