Cisco ATA 191 Başlayın - Sayfa 7

Ağ Donanımı Cisco ATA 191 için çevrimiçi göz atın veya pdf Başlayın indirin. Cisco ATA 191 8 sayfaları. Analog telephone adapter
Ayrıca Cisco ATA 191 için: Kullanıcı Kılavuzu (30 sayfalar), Yönetim Kılavuzu (4 sayfalar), Kullanıcı Kılavuzu (10 sayfalar), Manuel (10 sayfalar), Hızlı Başlangıç Kılavuzu (13 sayfalar), Kurulum Kılavuzu (6 sayfalar), Kullanıcı Kılavuzu (40 sayfalar), Kullanıcı Kılavuzu (30 sayfalar)
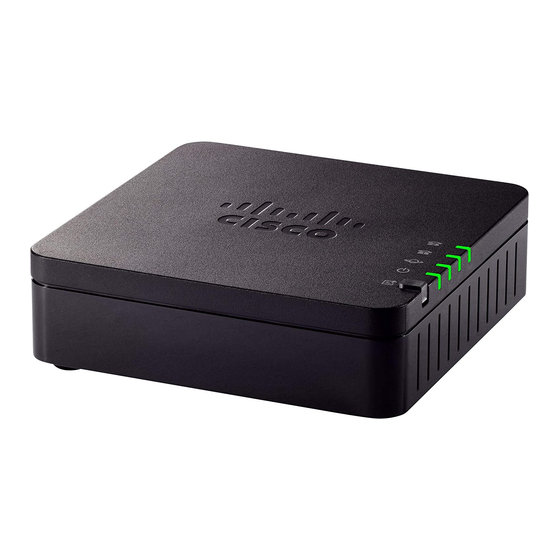
Cisco ATA 191 Başlayın
Get Started with Your New ATA
Note
Insecure mounting might damage the ATA or cause injury. Cisco is not responsible for damages incurred
byinsecure wall-mounting.
Procedure
Step 1
Determine where you want to mount the unit. Verify that the surface is smooth, flat and dry.
Step 2
Drill two pilot holes into the surface 58 mm apart (about 2.28 in.).
Step 3
Insert a screw into each hole, leaving a gap of 5 mm (0.1968 in.) between the underside of each screw head
and the surface of the wall.
Step 4
Place the unit wall-mount slots over the screws and slide the unit down until the screws fit snugly into the
wall-mount slots.

Supported ATA Call Features

Depending on your system configuration, your ATA supports some or all the following call features:
Supported ATA Call Features
Get Started with Your New ATA
7