Xerox WorkCentre M24 Color Hızlı Bağlantı Kılavuzu - Sayfa 2

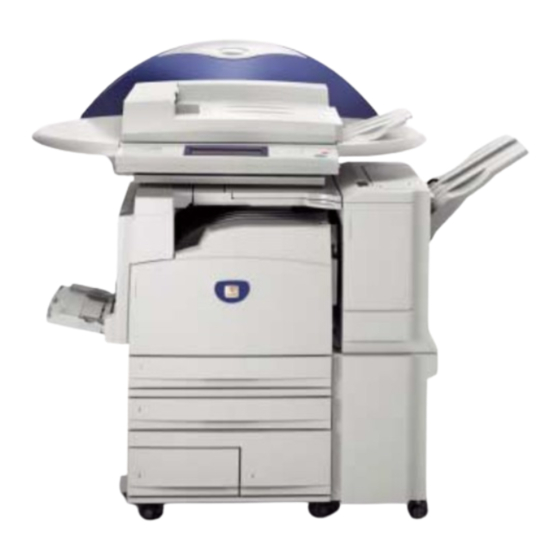
Yazıcı Xerox WorkCentre M24 Color için çevrimiçi göz atın veya pdf Hızlı Bağlantı Kılavuzu indirin. Xerox WorkCentre M24 Color 4 sayfaları. Creating mailbox
Ayrıca Xerox WorkCentre M24 Color için: Hızlı Başlangıç Kılavuzu (4 sayfalar), Broşür ve Teknik Özellikler (4 sayfalar), Hızlı Başlangıç Kılavuzu (4 sayfalar), Hızlı Başlangıç Kılavuzu (2 sayfalar), Hızlı Başlangıç Kılavuzu (2 sayfalar), Hızlı Başlangıç Kılavuzu (4 sayfalar), Hızlı Başlangıç Kılavuzu (2 sayfalar), Hızlı Başlangıç Kılavuzu (2 sayfalar), Hızlı Başlangıç Kılavuzu (2 sayfalar)

Xerox WorkCentre M24 Color Hızlı Bağlantı Kılavuzu
Follow this procedure if you want to make any changes to the Protocol Settings. If no changes are require, continue on Step 4.
Static IP Configuration
1.
Press "Access" button on the User Interface Control Panel.
2.
Enter "System Administrator" Password. (Default – 11111)
3.
Press "Confirm"
4.
Press "System Settings"
5.
Press "System Settings"
6.
Press "Network Settings"
7.
Press "Protocol Settings"
8.
Select setting to be changed.
9.
Select "Change Settings"
10. Make desired changes
11. Press "Save"
12. Repeat steps 8-11 to make any other changes.
13. Select "Close" to exit.
1.
Press "Machine Status" button on the User Interface Control Panel.
2.
Select Billing Meter / Print Report
3.
Select "Print Report / List"
4.
Select "Print Mode Settings"
5.
Select "Settings List (Common Items)"
6.
Press "Start" Button to print a Settings List.
7.
Refer to Sample Settings List on opposite page.
A PC client connected to the network is required to complete the printer network set-up.
Follow this procedure if you want to make any other changes to the printer configuration.
Procedure
1.
Open a web browser (Internet Explorer)
2.
Verify that Proxy Servers are being bypassed for local web addresses.
3.
Type the TCP/IP address assigned to the printer in the URL window. (Refer to the Settings List for the TCP/IP Address)
4.
Select "Properties" Tab.
5.
Make desired changes.
Note: Default User Name: admin / Default Password: admin
6.
Reboot print server.
7.
Print a new Settings List.
IP Protocol Setup
Auto IP (DHCP) - No Action required
Print a Settings List
Web User Interface Instructions