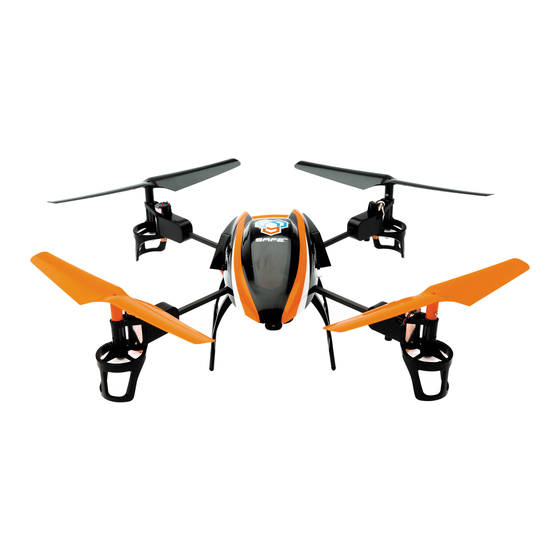
Blade Blade 180QX HD Kullanım Kılavuzu - Sayfa 14
Quadcopterler Blade Blade 180QX HD için çevrimiçi göz atın veya pdf Kullanım Kılavuzu indirin. Blade Blade 180QX HD 20 sayfaları.
Ayrıca Blade Blade 180QX HD için: Kullanım Kılavuzu (20 sayfalar)

Installation
1. Install the included hook and loop tape on the bottom of
the camera, as shown.
2. Install the camera on the model using the included hook
and loop strap.
3. Connect the servo lead from the main board to the
camera servo lead port.
4. Press the camera power button. The red LED will glow
solid during initialization, then turn off. The blue LED will
glow solid.
Changing Modes
The camera comes from the factory in still mode. To
change between video and still mode, press and hold the
trigger. When changing to video mode, the blue LED will
blink twice. When changing back to still mode, the blue
LED will blink once.
Operation
To use the camera, press and release the trigger on the
back of the RTF transmitter. This will take a picture or start
recording video. Press the trigger again to stop recording
video. When taking a picture, the blue LED will blink once
and return to solid. When recording video, the blue LED will
blink slowly and return to solid when fi nished recording.
BNF Transmitters
To use the camera function with other transmitters, assign
channel 6 to a momentary switch/button on your transmit-
ter. The switch/button will function the same as the RTF
trigger.
The camera also functions manually through the buttons.
Data Retrieval
Data from the camera can be retrieved through the micro
USB port or the removable 2GB TF micro SD card.
Flight Mode Calibration
• It may not be necessary to do both calibrations.
• If the quadcopter is drifting only in Agility Mode, then follow the Agility Mode Calibration instructions.
• If the quadcopter is drifting only in Stability Mode, then follow the Stability Mode Calibration instructions.
• As there is no GPS, there may always be a small amount of drift in any fl ight mode.
• There is no self-leveling during calibration. It is up to the pilot to bring the quadcopter to a stable hover.
Agility Mode Calibration
1. Ensure all trims are centered.
2. Power on the transmitter and move the throttle stick to full throttle.
3. Ensure the transmitter is in Agility Mode.
4. Hold full down elevator.
5. Connect the fully charged fl ight battery in the quadcopter.
6. Both LEDs will fl ash. Leave the throttle at full and return the elevator to center.
7. Leave the quadcopter still until the LEDs fl ash red then blue. This can take up to 30 sec-
onds or more. When the LEDs repeat with one blink per color, the calibration is complete.
8. If only the red LED is fl ashing, the calibration has failed. Repeat the process.
9. Disconnect the battery.
EN
C
14
C
B
A
D
Full down elevator
