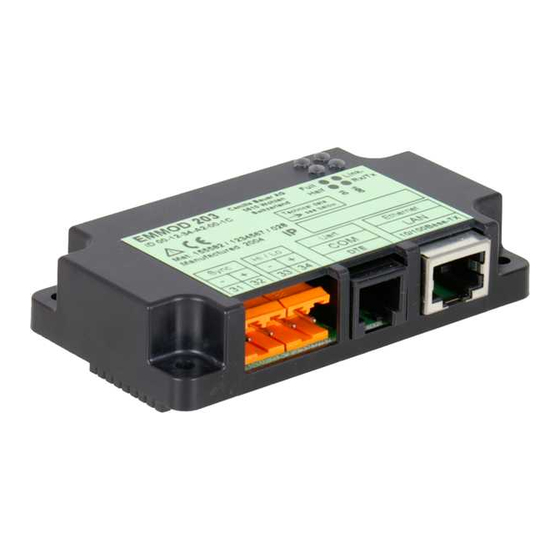
Camille Bauer EMMOD 203 Kullanım Talimatları Kılavuzu - Sayfa 4
Kontrol Ünitesi Camille Bauer EMMOD 203 için çevrimiçi göz atın veya pdf Kullanım Talimatları Kılavuzu indirin. Camille Bauer EMMOD 203 16 sayfaları. Extension module

Synchronisationseingang:
Entrée de synchronisation:
Synchronisation input:
31
(+)
(–)
32
4. Montage / Demontage
Grundgerät A2xx
abschalten.
Erweiterungs-Modul (1) einfach auf
der Rückseite des Grundgeräts auf-
stecken (Bild 1). Dabei beachten, dass
Steckerleiste (3) und Steckbuchse (2),
aufeinander passen.
Achtung! Leiterplatte und
Kontakte nicht berühren.
Elektrostatische Aufla-
dung kann elektronische
Bauteile beschädigen.
Zur mechanischen Sicherung die vier
mitgelieferten Kunststoff-Spreiznieten
(5) in die dafür vorgesehenen Löcher
(4) eindrücken (Bild 2).
(4)
(2)
(3)
Bild 1 / Fig. 1
4
Frequenz
Fréquence
Frequency
Echtzeit-
uhr
Horloge en
Teiler
temps réel
Diviseur
Real time
Splitter
clock
4. Montage / démontage
Enfi cher simplement le module d'exten-
sion (1) sur la face arrière de l'appareil
de base (Figure 1). Veiller à ce que la
réglette à broches (3) et la fi che femelle
(2) soient adaptées l'une à l'autre.
Pour le verrouillage mécanique des
quatre rivets expansibles en matière
plastique inclus dans la fourniture (5),
il faut les pousser dans les trous (4)
prévus à cet effet (Figure 2).
(1)
Nieder-/Hochtarif-Eingang:
Entrées à tarif haut/tarif bas:
Low/high tariff input:
33
(+)
(–)
34
Mettre l'appareil de base
A2xx hors tension.
A t t e n t i o n : E v i t e r d e
toucher la carte à circuits
imprimés et les contacts.
Une chaque électrosta-
tique peut endommager
les composants électro-
niques.
(4)
(5)
Bild 2 / Fig. 2
Energiezähler
Compteur d'énergie
Energy counter
Low
Basse
4. Assembly / disassembly
Switch off basic unit A2xx.
Simply attach the expansion modu-
le (1) to the back of the basic unit
(Fig. 1). Make sure the connector (3)
and the socket (2) fi t together.
Caution! Do not touch
the PCB or the contacts!
Electrostatic charge can
damage electronic com-
ponents.
For mechanical safety press the
4 supplied plastic rivets (5) into the
holes provided for them (4) (Fig. 2).
High
Elevée
