Cytron SHIELD-ESP-WIFI Kullanıcı Kılavuzu - Sayfa 14
Kayıt Ekipmanları Cytron SHIELD-ESP-WIFI için çevrimiçi göz atın veya pdf Kullanıcı Kılavuzu indirin. Cytron SHIELD-ESP-WIFI 17 sayfaları.
8.0 F IRMWARE I NSTALLATION
ESP8266 3V3 GPIO Input and Output function has deprecated with preloaded AT firmware
on ESP-WROOM-02 module on ESPWiFi Shield. However, Cytron Technologies offers
customised AT firmware which adds the stated capability to the module, allowing user to
utilise the 3V3 GPIO fully in the applications. User can follow the guide below to install new
AT f irmware t o t he m odule.
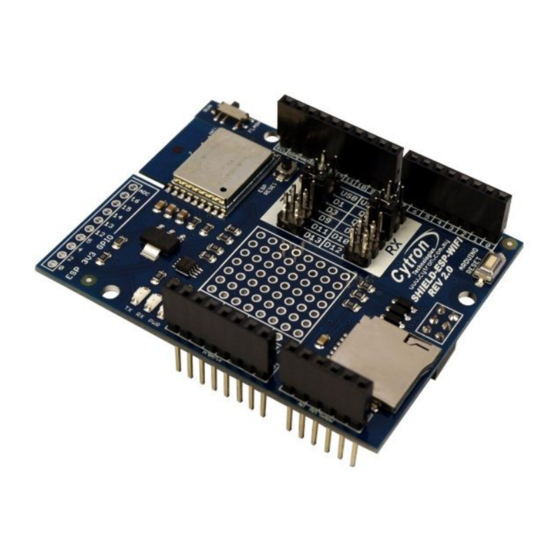
Hardware c onfiguration
1. Stack the shield onto Arduino compatible board. In this example, Arduino Uno is
used.
2. Place b oth m ini j umpers o n U SB s election.
3.
**IMPORTANT!!
reset at all times (Another alternative, upload an empty sketch to Arduino Uno before
stacking t he s hield o nto i t)
4. Slide t he s lide s witch t o F LASH m ode.
5. Connect t he w hole b oard ( Arduino U no + E SPWiFi s hield) t o P C v ia U SB c able.
6. Press ESP Reset button (with slide switch switched to FLASH mode) to enable
FLASH m ode o f E SP-WROOM-02 m odule.
Created b y C ytron T echnologies S dn. B hd. – A ll R ight R eserved
Product U ser's M anual – E SPWiFi S hield R ev2.0
Connect RST to GND using jumper wire to make sure the board
ROBOT . H EAD t o T OE
14