DORANI DORVT Посібник користувача - Сторінка 4
Переглянути онлайн або завантажити pdf Посібник користувача для Домофонна система DORANI DORVT. DORANI DORVT 8 сторінок. Touch video intercom system
Також для DORANI DORVT: Посібник з інсталяції (12 сторінок)
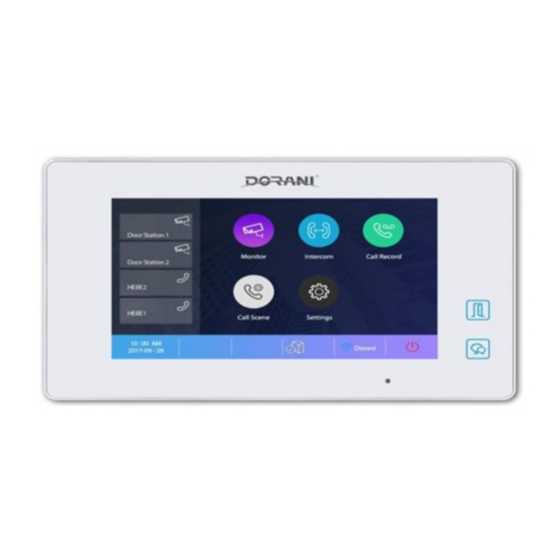
Pressing on the station desired will show the station on the screen, door stations can
then be activated (door locks), etc. as you would when in an intercom call.
Door stations programmed into the system will only show an image.
Cameras will only show an image if a CCTV Module is installed and Cameras connected.
Pressing the arrow symbol on top of the page enables you to access meu features for
adjusting brightness, colour and contrast.
INTERCOM
Pressing Intercom will give 2 optons
Inner Broadcast – Press this button to enable instant talking to the other monitors
connected in the system.
Inner Call will ring ALL montitors connedted in the system, communication can only be
established once another monitor is answered.
Answering and Ending the call is done in the same manner as normal intercom.
PLAYBACK
Pressing Playback will enable you to access all images taken upon pressing of the
intercom door bell.
These can be deleted one by one by pressing the X button and then the Bin button.
The system holds 100 Still Images on internal storage.
The addition of a Micro SD Card in the top of the monitor (Max 32GB) will override the
orginal Still Images and will enable call recording direct to the SD Card.
The SD Card MUST be formatted for this to work. To Format the SD Card, insert the SD
card properly into the SD Card Slot, enter Main page (press monitor), Press the
Symbol, Press the "About" Option, Press the
Symbol, followed by
, followed by
OK. This will format the card and enable image and call recording to the card.
CALL RECORD
If the Camera Symbol is pressed during a conversation, the video call will be recorded.
This can be viewed in date order with this feature.
DO NOT DISTURB
This enables the monitor to be put on silent mode for a designated period of time.
4