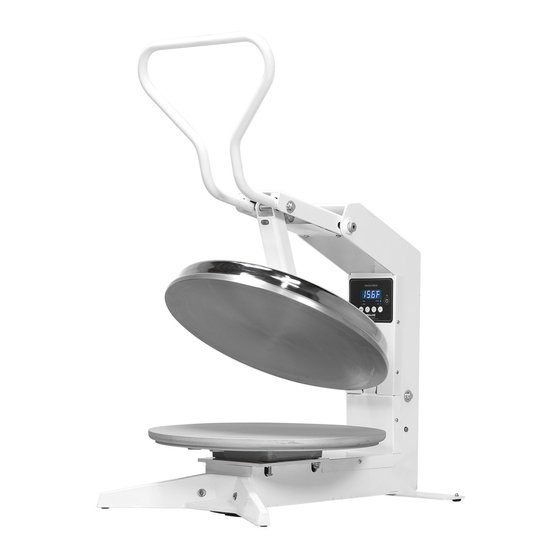
Doughpro PP1818 Посібник з експлуатації - Сторінка 2
Переглянути онлайн або завантажити pdf Посібник з експлуатації для Комерційне харчове обладнання Doughpro PP1818. Doughpro PP1818 11 сторінок. Manual dough press

Before attempting to operate your new PP1818 pizza press, take time to read these instructions. The press
has been designed for use by even totally unskilled employees after just a few minutes of simple
instructions. Following these step-by-step instructions will have them pressing pizzas faster, safer, more
consistently and equal in quality to the best hand tossed crusts.
First make sure the press is placed in an area with sufficient room for cleaning and unobstructed
operation. Start by plugging the press into a properly rated outlet depending on the electrical rating of the
press selected - 120V or 240V. Start by setting the temperature as follows dependent on the desired
product: Fresh dough pizza crusts: 150
ALLOW 15-20 MINUTES FOR WARM-UP.
Now let's start pressing pizza crusts.
First allow upper platen to reach set temperature. In most instances, 150
error testing will determine the best temperature for your dough. For best results your dough should be
proofed before pressing, but it will also press directly out of your refrigerator. Flour is not required to
press a crust and should not be dusted on any part of the machine. Determining the proper amount
of pressing time will vary depending on the diameter of your product. Start with 5 seconds and go up or
down from there.
Introduction
Getting Started
F (65.5
C). Vary the temperature setting to suit the desired result.
o
o
STEP 1 - After allowing upper platen to reach desired
temperature, set desired time cycle. Place your pre-portioned
doughball on the etched mark on the lower platen (off center).
Use an approved lubricant or food release agent such as olive
oil or DOUGHPRO'S cookware food release spray #DPPC1.
This will greatly improve the pressing operation. Flour is NOT
required to press crusts and should NEVER be used on
any part of the machine.
STEP 2 -
With both hands pull down the handle into locking
position. Wait until your desired set time has been reached and
the counter beeps.
STEP 3 -
With both hands, quickly lift the handle & remove
your crust from either the left or right side. Place flattened crust
on screen, disc or pan. Now you're ready for make-up and
baking. Keep in mind that the final crust shape and size are
result of proper portioning, rounding and set time.
F (65.5C) is ideal, but trial and
o
