Dremel DigiLab 3D45 Інструкція з обслуговування - Сторінка 4

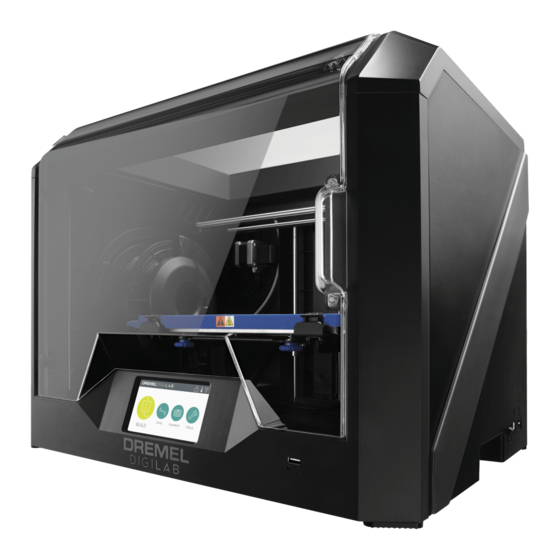
Переглянути онлайн або завантажити pdf Інструкція з обслуговування для 3D-принтери Dremel DigiLab 3D45. Dremel DigiLab 3D45 4 сторінки. Print removal
Також для Dremel DigiLab 3D45: Посібник із швидкого старту (2 сторінок), Інструкція з експлуатації (2 сторінок), Посібник (4 сторінок), Посібник з експлуатації (4 сторінок), Посібник з калібрування (2 сторінок), Посібник із швидкого старту (2 сторінок)

Dremel DigiLab 3D45 Інструкція з обслуговування
iii. Press "test" twice to check the orientation after adjust-
ment in vertical position. If not satisfied with the orienta-
tion of the arm, repeat step i. and ii. until desired
orientation is achieved in vertical position.
iv. Press "test" once to move the arm in the stow position.
v. Ensure the leveling arm is NOT exposed like it is shown
in Figure 13 below.
Figure 13. Exposed leveling arm in stowed position.
vi.If yes, press - to decrease angle in front of "up". Refer
to Figure 12b.
2610038113
Congratulations!
You are now ready to build. Build On.
vii. If the arm makes a hitting sound or rebounds back while
stowing, then it is stowing too high. In that case, press
+ to increase angle of stowing in front of "up". The arm
should be stowed as shown in the Figure 14 below, such
that it doesn't expose or rebound.
Figure 14. Leveling arm in stowed position.
viii. Once the angles are adjusted for both vertical and stow-
ing positions, press "next".
Step 8: Nozzle Gap Calibration
a. Follow Nozzle Calibration instructions.
07/2018