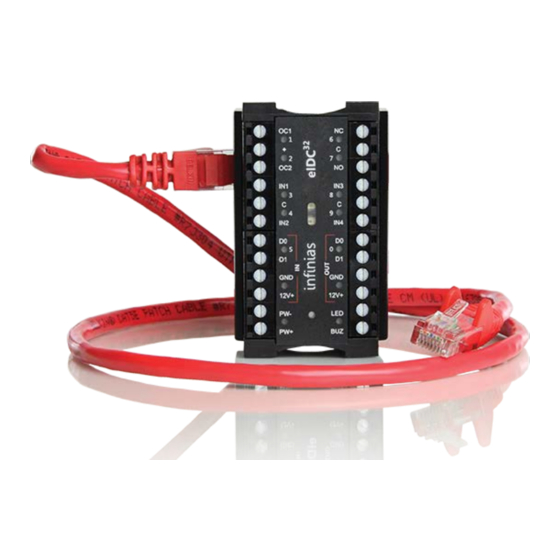
3xLogic infinias eIDC32 Посібник із швидкого старту - Сторінка 10
Переглянути онлайн або завантажити pdf Посібник із швидкого старту для Шлюз 3xLogic infinias eIDC32. 3xLogic infinias eIDC32 17 сторінок.

- 1. Important Safety Instructions
- 2. Before You Begin
- 3. Installation
- 4. Connect to an Ethernet Switch
- 5. Poe SWITCH
- 6. NON-Poe with MIDSPAN Poe INJECTOR
- 7. NON-Poe SWITCH
- 8. NON-Poe with POWER INJECTOR
- 9. DETERMINE the Eidc IP ADDRESS
- 10. CONFIGURE the Eidc with the WEB SERVER
- 11. CONNECT to the Eidc
- 12. CHANGE the Eidc to DHCP or STATIC IP MODE
- 13. WIRE the Eidc DOOR COMPONENTS
- 14. Eidc Web Server: Single Door Application
CONFIGURE THE eIDC WITH THE WEB SERVER
The eIDC has a built-in server which allows a Web browser to connect
to the eIDC.
IMPORTANT: If static addressing is to be used, you must obtain a valid
static IP Address, Subnet Mask, and Gateway from the network
administrator of the facility where the eIDC is located. You will need this
information to change the eIDC default static IP address (169.254.1.1).
CONNECT TO THE eIDC
1. Open a standard Web browser.
2. Type the IP address given by the eIDC (DHCP or static) into the
address bar of the browser to locate and configure the eIDC, and
then press Enter. The infinias Web Edition screen appears.
3. Click the "Click Here to Start" button. The login screen appears.
4. Type admin (all lowercase) in the user name and password text
boxes (admin is the default value for both of these fields). NOTE:
If the user name and password have been are unknown, you will
need to reset the eIDC to its factory default settings. Refer to the
installation manual included on the resource disc.
CHANGE THE eIDC TO DHCP OR STATIC IP MODE
1. Click the System button, and then click Controllers.
2. Select the eIDC controller, and then click the Modify button.
3. Select the IP mode: DHCP or static
a. DHCP: Verify that the Use DHCP check box is selected; DHCP
is the default setting. For more information on DHCP
addressing, refer to the installation manual included on the
resource disc.
b. Static: Click the Use DHCP check box to clear the selection,
and then type the new IP Address, Subnet Mask, and Gateway.
4. Click "OK," and then click "Done" to save the changes. The eIDC is
now ready for further configuration and use.
5. Go to
the installation.
10
Wire the eIDC Door Components
on page 11 and complete
QSG-002 / 01-03-2017
