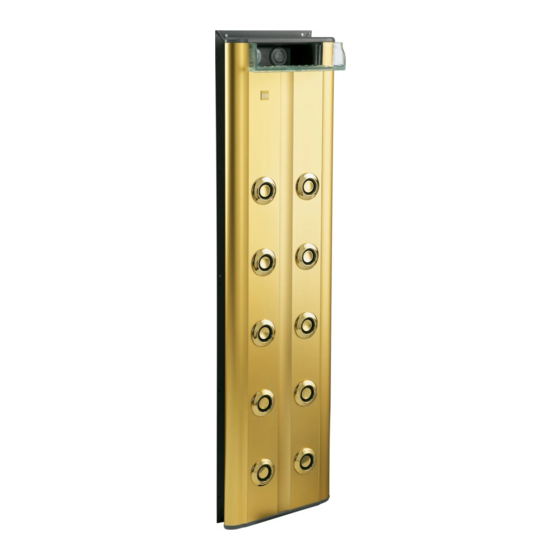
Kohler BodySpa K-1000 Інструкція з монтажу Посібник з монтажу - Сторінка 4
Переглянути онлайн або завантажити pdf Інструкція з монтажу Посібник з монтажу для Сантехніка для ванної кімнати Kohler BodySpa K-1000. Kohler BodySpa K-1000 28 сторінок. Tower custom hydro-massage system
Також для Kohler BodySpa K-1000: Посібник для власників житла (48 сторінок)

4. BEFORE INSTALLING FOOTBATH
Install the drain to the footbath according to the drain
manufacturer's instructions. When installing the drain
overflow tube and hood, be sure to adequately seal along
the edges of the hood to prevent leakage.
5. INSTALL THE FOOTBATH
A. CONFIRM STUD POCKET ROUGH-IN
The door enclosure is specifically designed for this
footbath. For proper installation, make sure the double
studs for the wall jambs are in position before installing the
unit. Proper door enclosure assembly depends upon
installation of the footbath against square and plumb (to
within 3/8") studding. Verify this before proceeding with
the installation.
B. INSTALL THE FOOTBATH
1.
The variable flow valve assembly is attached to the
suction line of the footbath harness for shipping, and
the wires are connected to the pump. Cut the
strapping, and remove the variable flow valve
assembly. Remove and discard the plug on the end
of the pump union. Then temporarily connect the
variable flow valve to the pump by loosely threading
the union nut to the pump discharge union.
2.
Set the footbath on the subfloor. Align the trap with
the tailpiece.
3.
Position a clean drop cloth in the footbath to prevent
damage.
4.
Level the unit using the footbath rim surfaces. Do not
use the nailing-in flange to level the unit. The
footbath must be level to properly install and operate
the door enclosure.
5.
Securely shim under the wood blocks as needed.
Secure the footbath to the studding using the
nailing-in flange and galvanized drywall screws. Drill
and countersink pilot holes halfway up the nailing-in
flange. Drill from the finished side of the nailing-in
flange to prevent chipping of the acrylic.
6.
Add furring strips to the stud framing inside the
recess area. This will make the studs even with the
footbath nailing-in flange.
AB
116290-2-
Variable Flow
Valve Assembly
Pump
4
Nailing-In
Flange
Kohler Co., Kohler WI U.S.A.
