Cisco ASR 920 series Посібник - Сторінка 6
Переглянути онлайн або завантажити pdf Посібник для Перемикач Cisco ASR 920 series. Cisco ASR 920 series 36 сторінок. Aggregation services router
Також для Cisco ASR 920 series: Посібник з встановлення (36 сторінок), Початок роботи (6 сторінок), Посібник з встановлення (42 сторінок), Посібник з встановлення обладнання (46 сторінок)

Attaching the Cable Guides
SUMMARY STEPS
1. Position the chassis in the rack as follows:
2. Align the mounting holes in the bracket (and optional cable guide) with the mounting holes in the equipment
rack.
3. Install the four M6x12mm zinc-plated steel screws through the holes in the bracket and into the threaded
holes in the equipment rack posts.
4. Use a tape measure and level to verify that the chassis is installed straight and level.
DETAILED STEPS
Step 1
Position the chassis in the rack as follows:
• If the front of the chassis (front panel) is at the front of the rack, insert the rear of the chassis between the mounting
posts.
• If the rear of the chassis is at the front of the rack, insert the front of the chassis between the mounting posts.
Step 2
Align the mounting holes in the bracket (and optional cable guide) with the mounting holes in the equipment rack.
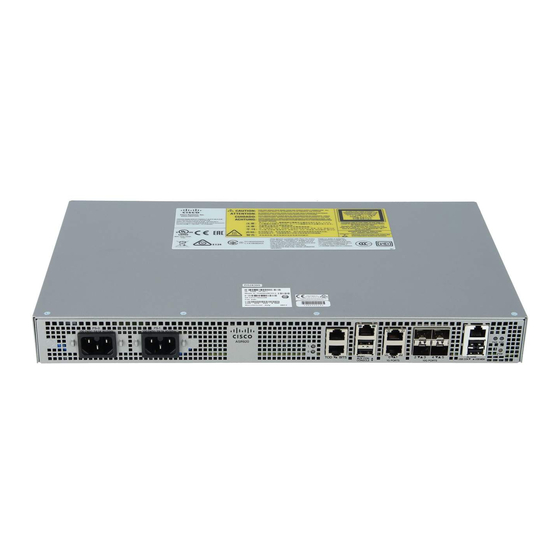
The following figure shows how to install the Cisco ASR 920 Series Router in a 19-inch EIA rack.
Figure 5: Installing the Chassis in a 19-inch EIA Rack
Step 3
Install the four M6x12mm zinc-plated steel screws through the holes in the bracket and into the threaded holes in the
equipment rack posts.
Step 4
Use a tape measure and level to verify that the chassis is installed straight and level.
Attaching the Cable Guides
The Cisco ASR 920 Series Router supports the following cable guides:
• A920-CBL-GUIDE (left and right)—help in routing the cables from all components on the front panel
Installing the Cisco ASR 920 Series Router
6
thereby enabling a proper cable-bending radius.
Installing the Cisco ASR 920 Series Router
