3Doodler 2.0 Посібник користувача - Сторінка 6
Переглянути онлайн або завантажити pdf Посібник користувача для Аксесуари 3Doodler 2.0. 3Doodler 2.0 10 сторінок.
Також для 3Doodler 2.0: Посібник із швидкого старту (2 сторінок), Посібник (4 сторінок)
minutes before stopping.
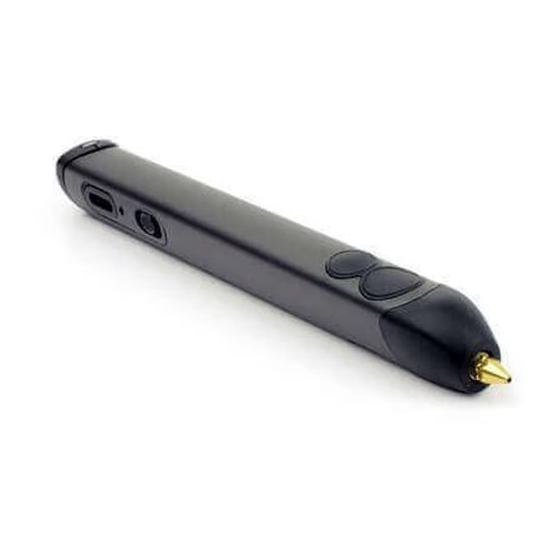
To stop the continuous flow of plastic/filament, simply click on either
the FAST (3) or SLOW (4) button on your 3Doodler.
2
To temporarily pause the continuous flow of plastic/filament, hold
down on either the FAST (3) or SLOW (4) button on your 3Doodler
and then release to resume continuous flow.
NOTE: Upon resumption of continuous flow, the extrusion
speed will change depending on which extrusion button
(FAST or SLOW) you used to pause the flow. The 10
minutes of continuous flow will restart after pausing.
Step 7: Unloading/reversing your plastic/filament
To unload the plastic:
1. Ensure that the device is still at the correct temperature required
for the type of plastic/filament being used:
LO ("Low") = GREEN LED indicator
Otherwise, please press one of the
extrusion buttons and wait for the
3Doodler to heat up again.
2. Hold down BOTH the FAST (3) and
SLOW (4) extrusion buttons at the
3
same time. The LED indicator (5) will
flash.
3. When the plastic/filament stops
moving in reverse you may gently
take it out from the back of the pen
Step 8: Power down
To safely turn the pen off, move the sliding switch to the OFF
position
. Allow the pen to cool completely before storing.
9
PRO-TIP:
Optimize your melt
temperature. Using the mini-screw
driver
, tweak your 3Doodler's melt
13
temperature +/- 5°C, for minor flow
adjustments and expertly consistent
Doodles. To do this, insert the mini
screw driver into the potted
Temperature Adjuster
panel. Turn the mini screw driver
clockwise to increase the melt
temperature, or anti-clockwise to
decrease the melt temperature.
PRO-TIP:
Speed boost! While the
3
2
HI ("High") = BLUE LED indicator
on the control
10
2
3
2
5
.
12
13
3
2
10