Brother HL-4040CN Technische Anweisungen - Seite 3

Blättern Sie online oder laden Sie pdf Technische Anweisungen für Druck-Server Brother HL-4040CN herunter. Brother HL-4040CN 6 Seiten. Brother printer - laser printer user manual
Auch für Brother HL-4040CN: Broschüre (4 seiten), Handbuch zur Schnelleinrichtung (35 seiten), Broschüre & Specs (2 seiten), Teile-Referenzliste (40 seiten), Service-Update-Handbuch (11 seiten), Reinigung und Pflege (7 seiten), Service-Handbuch (13 seiten), (Dänisch) Benutzerhandbuch (35 seiten)
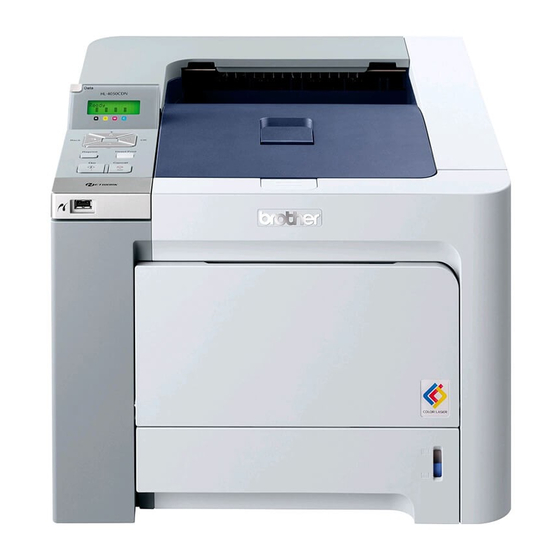
Brother HL-4040CN Technische Anweisungen
Brother HL-4040CN Technical Instructions
PHOTO 11
PHOTO 12
PHOTO 13
PHOTO 14
PHOTO 15
Step 9
Using a Phillips screwdriver, remove the
screw that holds the developer roller bear-
ing end cap (See photo 11).
Step 10
Using a small flat blade screwdriver, pry off
the developer roller bearing end cap from
the developer roller axle (See photo 12).
Step 11
Lift the developer roller from the toner hop-
per (See photo 13). Slide out the white bear-
ing tab from the developer roller shaft (See
photo 14).
Step 12
Clean the developer roller using a dry, lint-
free cloth and set it aside (See photo 15).
Step 13
Using a Phillips screwdriver, remove
the two screws that hold the doctor
blade onto the toner hopper (See
photo 16). Remove and clean the
doctor blade by using dry com-
pressed air and then a dry lint-free
cloth. Set doctor blade aside.
PHOTO 16
Step 14
Remove the toner fill plug with a pair
of pliers (See photo 17). Dump out
the toner from the toner hopper and
clean it with dry compressed air or a
vacuum.
NOTE: OEM fill plugs get damage
most of the time and may need to
be replaced.
PHOTO 17
© 2008 Future Graphics Imaging Corporation. All
rights
reserved.
Future
Graphics
Corporation (FGIC) is a distributor of compatible
replacement parts and products for imaging equip-
ment. None of FGIC's products are genuine OEM
replacement parts and no affiliation or sponsorship
is to be implied between FGIC and any OEM.
3
Imaging