HP ProCurve 1600M Installationshandbuch - Seite 19

Blättern Sie online oder laden Sie pdf Installationshandbuch für Schalter HP ProCurve 1600M herunter. HP ProCurve 1600M 28 Seiten. Redundant power supply
Auch für HP ProCurve 1600M: Spezifikationsblatt (12 seiten), Lies mich zuerst (8 seiten), Handbuch für Rezensenten (27 seiten), Ergänzendes Handbuch (2 seiten), Ergänzendes Handbuch (2 seiten), Installationshandbuch (28 seiten), Installationshandbuch (36 seiten), Handbuch zur Schnelleinrichtung (2 seiten), Handbuch zur Schnelleinrichtung (4 seiten), Benutzerhandbuch (8 seiten), Handbuch Ergänzung (28 seiten), Lies mich zuerst (16 seiten), Montage und Demontage (2 seiten), Installationshandbuch (12 seiten), Handbuch für Planung und Durchführung (40 seiten), Anweisungen zur Demontage des Produkts nach Ablauf der Lebensdauer (2 seiten), Installationshandbuch (46 seiten), Diagnostik-Handbuch (2 seiten), Anweisungen für die Demontage (2 seiten)
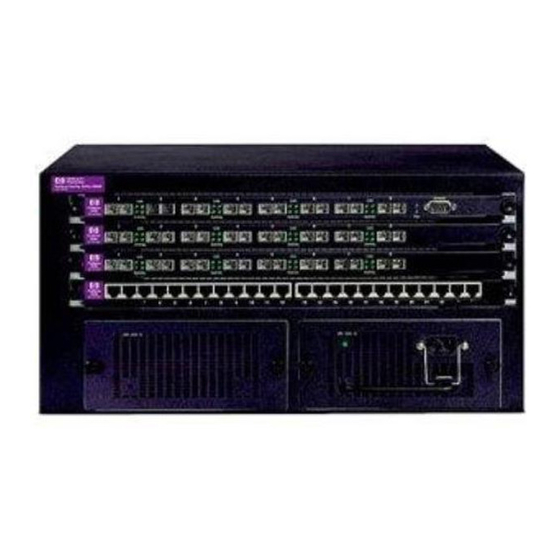
HP ProCurve 1600M Installationshandbuch

Troubleshooting

The primary tools for troubleshooting the switch modules are the LEDs on the
front of the switch and on the module. Refer to "LED Behavior" on page 7.
Also, refer to the Installation Guide and the Management and Configuration
Guide shipped with the switch, for more detailed troubleshooting informa-
tion.
The following tables describe switch and module LED displays that indicate
that the module or connections to the ports on the module are not operating
correctly.
Switch and Module LED Error Indicators:
Diagnostic Tips:
Tip
Number
Problem
The module is not
installed properly
in the slot or has
become partly
removed during
switch operation.
Fault
Self Test
Module Status
Flashing
Flashing
Off
Off
Flashing
Flashing
Flashing
Flashing
Off
Off
The flashing behavior is an on/off cycle once every 1.6 seconds, approximately.
Under this error condition, the following events also occur:
• All the LEDs on the module stay on until the error is resolved.
• The switch software, including console and web browser access will not be
operational for approximately one minute from the time the module gets into this
condition.
Make sure to screw in the retaining screws to firmly position the module and so that
the module cannot be inadvertently pulled out by pulling on the network cables.
If this does not resolve the condition, try reinstalling the module. You can do this without
having to power down the switch.
Module Port
Link and Mode
Flashing
All Link and Mode LEDs On
Flashing
All Link and Mode LEDs On
On
Link and Mode LEDs On for
one or both of the ports after
a module hot swap
On
Link and Mode LEDs On for
one or both of the ports after
switch power on or reset
On
Off with cable connected
Solution
Troubleshooting
Diagnostic Tips
13