3D Creations North American P 51 D Mustang Manual de instrucciones de montaje - Página 2
Navegue en línea o descargue pdf Manual de instrucciones de montaje para Juguete 3D Creations North American P 51 D Mustang. 3D Creations North American P 51 D Mustang 15 páginas. Paper scale model kit
Now for your first part assembly
that requires a forming of the pieces
to be joined. First place part #6 in it's
correct place (Directly behind #7
overlapping it slightly). Pay careful
attention to its placement using the
printed panel lines and color to help
you line it up. As the piece is
attached you
must draw the
sides of the
fuselage into piece #6 making sure #6 and #7 stay lined up. If done
correctly the top of the nose section should have a slight cup shape to
it. At this point you must curl the nose section to its desired shape
before you can attach any other pieces. What needs to be done is to
roll part #7 an #6
creasing it
fuselage sides flat. This allows
you to mount the following pieces without wrinkling
them. See figure 3. It will naturally snap back some
from this position which is OK. You're just
establishing the shape right now.
Now it is time to bend the light blue tabs at the rear
of the fuselage. See figure 4. This will become the
rudder mounting area later in the construction. These
blue tabs are to be bent inward at a right angle to the fuselage. First make a small cut
along the front edge of the tab down to the white line. This helps
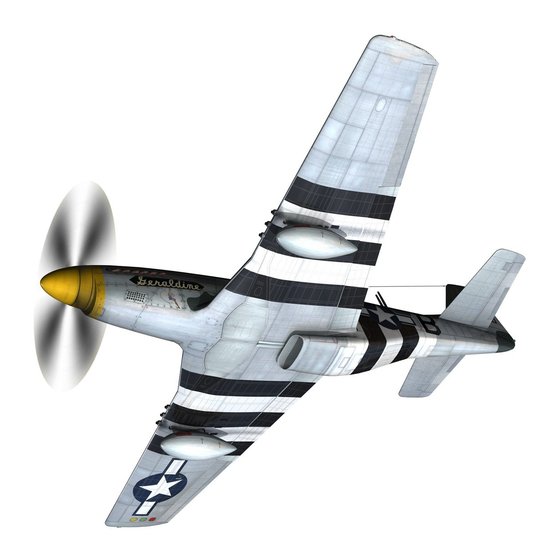
Fuselage Assembly
Cut out parts #1, #2, #3,and #4. Glue the wing mount
sections (parts #3 & #4) to the fuselage parts #1 & #2
matching up the paint scheme to insure that they are
mounted on the correct side. Next cut out parts #6, #7, and
#24. Glue part #7 to part #2 as shown in figure 1. Now glue
part #1 to the other side of part #7 in the same way.
See figure 2.
without
while leaving the
make a clean fold.
Score and crease
along the white line
at the bottom of the
tab and fold. Now
draw the two blue
tabs together and
glue one tab exactly
on top of the other.
You will need to
2