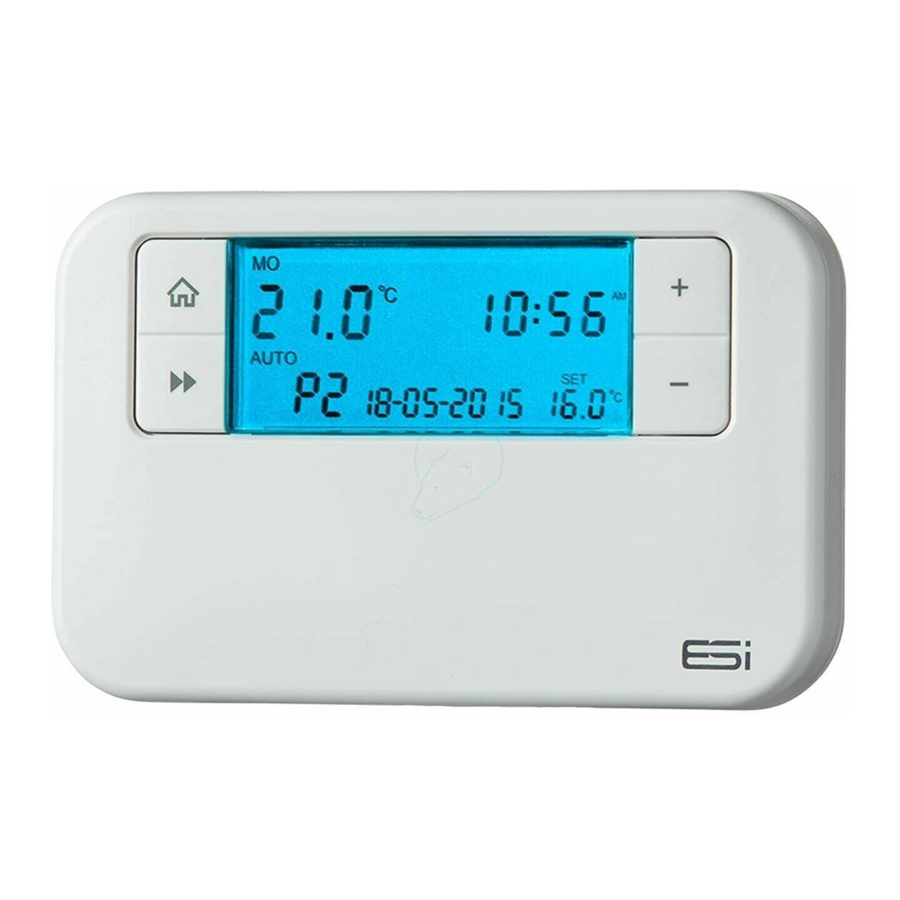
ESI ESRTP4+ Manual de instrucciones de instalación - Página 8
Navegue en línea o descargue pdf Manual de instrucciones de instalación para Termostato ESI ESRTP4+. ESI ESRTP4+ 11 páginas. Programmable room thermostat
También para ESI ESRTP4+: Instrucciones de uso (11 páginas)

- 1. Table of Contents
- 1. 1 Technical Specification
- 1. Programmable Room Thermostat
- 2. 2 Installation Instructions
- 2. Installation Safety Instructions
- 2. General Safety
- 2. Maintenance
- 2. Wiring Diagram
- 3. 3 Technical Settings
- 3. Setting TPI, Delayed & Optimum Start
- 3. Setting Sensitivity/Swing and Calibration
- 3. Opentherm Parameter Settings
- 3. Setting the Landlord Service & Time Events
- 3. Lockout Feature
1: Reminds the user when the annual service is due by
displaying SER in the screen 30 days before due date
2: Reminds the user when the annual service is due by
displaying SER in the screen 30 days before due date
and only allows the system to run for 45 minutes per
hour after the due date has passed
3: Reminds the user when the annual service is due by
displaying SER in the screen 30 days before due date
and only allows the system to run for 30 minutes per
hour after the due date has passed
4: Reminds the user when the annual service is due by
displaying SER in the screen 30 days before due date
and only allows the system to run for 15 minutes per
hour after the due date has passed
6. Press the Next
button. Use +/– to set the due date
(from 28 - 366 days).
7. The left of the LCD screen will display the recorded
running time. Holding the C button for 2 seconds will
zero to the time.
8. To change the code, go to the Due Date setting (in SER
settings), press the A button for 2 seconds. NEU CODE
will appear at the bottom of the LCD display. Press
+/– to set the first digit, then press the H button. Repeat
this for all four digits. Press the A button for 2 seconds
again to set the new code. The screen will display SET
to confirm the change.
9. The system will start timing after the thermostat is
powered on (Running Time). When the running time
reaches 30 days from the Due Date, the screen will
display SER. When the running time is more than or
equal to the Due Date, the screen will display SER
14
constantly and the system ON time will be controlled by
the SER SET.
N.B. When the system is running to the ON condition, but is
limited by the SER SET (and therefore cannot be ON),
the screen will flash the ON symbol.
10. Press the Next
button to enter the PROGRAMMES
setting, press +/– to choose either 4 or 6 time
temperature events per day.
11. To exit the installer setting press the
Lockout Feature:
3.5
The RTP4 and RTP4RF comes with a lockout feature which
enables the installer to disable certain functions of the
thermostat to a complete lockdown depending on the mode
selected.
Setting the Installer Lockout Mode
3.6
1. Follow steps 1 to 4 above
2. Press the Next
button to enter the installer lock
settings.
3. Use the +/– buttons to choose between: -
Default Setting 1
This mode works as a standard Programmable Room
Thermostat.
Partial Lockout 2
This mode allows the installer to set the Maximum
temperature Setpoint (factory default 21°c), and allows
the end user to adjust all other settings apart from
maximum temperature set point.
Home button.
15
