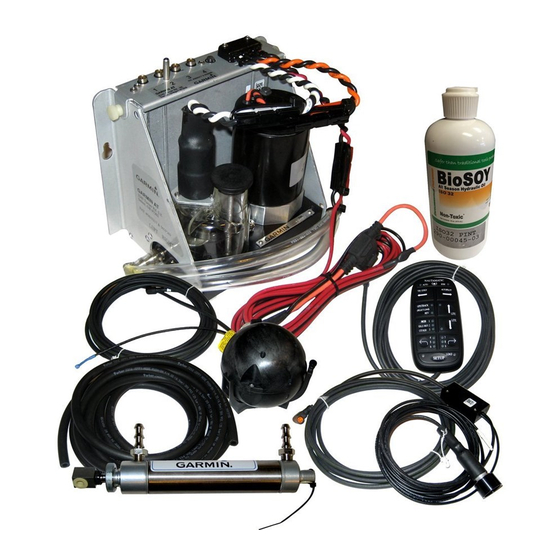
Garmin TR-1 Gold Instructions d'installation - Page 3
Parcourez en ligne ou téléchargez le pdf Instructions d'installation pour {nom_de_la_catégorie} Garmin TR-1 Gold. Garmin TR-1 Gold 4 pages. Throttle actuator
Également pour Garmin TR-1 Gold : Manuel du propriétaire (38 pages), Manuel d'utilisation de base (9 pages), Référence rapide (2 pages), Instructions de montage (7 pages), Référence rapide de l'ordinateur de poche du propriétaire (2 pages)

Step Three:
Near the left end of the carburetor
there is a shaft with a nut on
it. This is the butterfly shaft.
Remove the nut and lock nut. Be
careful not to drop them in side
the cowl.
Step Two:
Use the #10 screw provided with the
actuator to replace the screw you just
removed and attach the throttle actuator
assembly (item 1) as shown. Keep both
washers on the screw head side of the
air horn. Apply a little thread lock to the
screw and tighten it.
3
Step Four:
Install the carburetor bell crank
lever on the shaft as shown.
The little screw head will be
on the near side. The string
connecting it to the actuator
motor should enter from the
back. Tighten the nut.
