HP ProCurve 1600M Manuel d'installation - Page 4

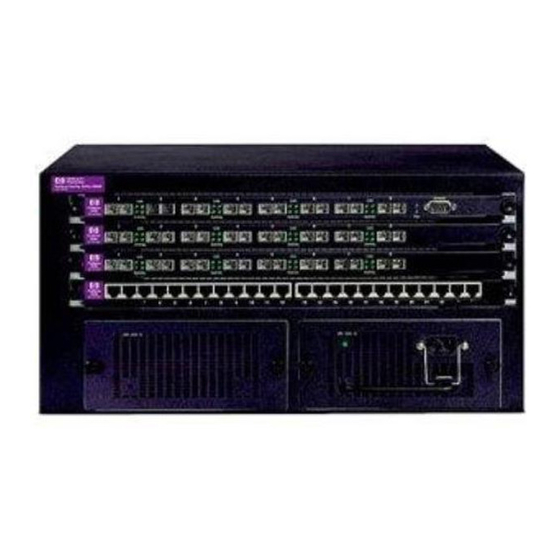
Parcourez en ligne ou téléchargez le pdf Manuel d'installation pour {nom_de_la_catégorie} HP ProCurve 1600M. HP ProCurve 1600M 12 pages. Redundant power supply
Également pour HP ProCurve 1600M : Fiche technique (12 pages), Lisez-moi d'abord (8 pages), Manuel du réviseur (27 pages), Manuel complémentaire (2 pages), Manuel complémentaire (2 pages), Manuel d'installation (28 pages), Manuel d'installation (36 pages), Manuel d'installation (28 pages), Manuel d'installation rapide (2 pages), Manuel d'installation rapide (4 pages), Manuel de l'utilisateur (8 pages), Supplément au manuel (28 pages), Lisez-moi d'abord (16 pages), Installation et retrait (2 pages), Manuel de planification et de mise en œuvre (40 pages), Instructions de démontage du produit en fin de vie (2 pages), Manuel d'installation (46 pages), Manuel de diagnostic (2 pages), Instructions de démontage (2 pages)

HP ProCurve 1600M Manuel d'installation

Installing the Replacement Fan Tray

Overview
The installation steps are:
1. Disconnect all AC power from the switch and remove any power supplies and
cover plates.
2. On the front of the switch, mark or otherwise note the location of the network
cables attached to the network modules in switch slots A and B so that you can
reconnect the cables to the correct ports at the end of this procedure. Then,
disconnect all network cables from modules that are installed in slots A and B
on the front of the switch.
Alternatively, if you have sufficient slack in the cables, you can leave the network
cables connected to the modules as you complete the next step.
3. Remove the Management module and any modules that you have installed in
slots A and B. (Remember which module is located in which slot).
4. Remove the old fan tray assembly.
5. Install the Replacement Fan Tray.
6. Reinstall the Management module into its slot and the network modules into
their previous positions in slots A and B. (Make sure you do not overtighten the
screws on the modules.)
7. If you disconnected the network cables in step 2, reconnect the cables to the
correct ports on the network modules.
8. On the back of the switch, reinstall the power supply or supplies and cover plates.
9. Reconnect the AC power to the power supplies.
10. Verify that the switch is operating correctly by observing the LEDs on the front
of the switch.
4