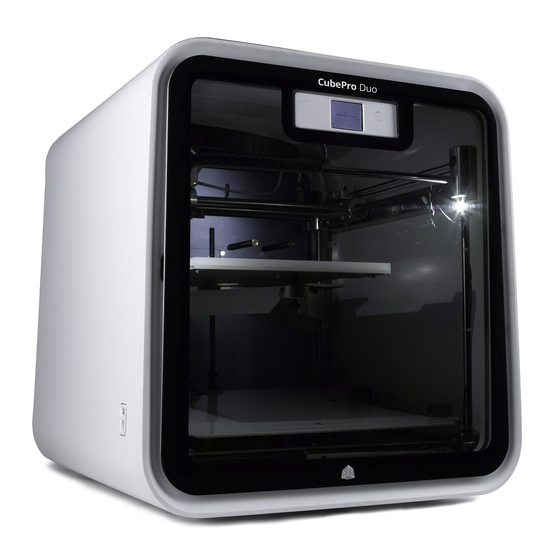
3D Systems CubePro Manuel d'instructions original - Page 11
Parcourez en ligne ou téléchargez le pdf Manuel d'instructions original pour {nom_de_la_catégorie} 3D Systems CubePro. 3D Systems CubePro 12 pages. Unjamming extruder
Également pour 3D Systems CubePro : Manuel d'instructions original (18 pages), Manuel (11 pages)

14. Using a Phillips screwdriver, reconnect the wire connectors to both
the positive terminal and negative terminal using the original two (2)
screws.
15. Reinstall the power supply cover. Insert the original four (4) 3 mm hex
head screws through the cover and into the inner floor and secure
them.
NOTE: To prevent damaging the wires, ensure the wires are
routed under the wire openings on the front and back of the
cover.
16. While supporting the floor, carefully remove the wire tie.
17. Lower the inner floor and align the screw holes with the standoffs
underneath.
18. Insert the original nine (9) screws that were removed in step 5 and
secure them using a 3 mm hex driver.
19. Connect the power cord to the printer and turn on the main power
switch. Press the on/off button to turn on the display.
3D Systems, Inc.
10
