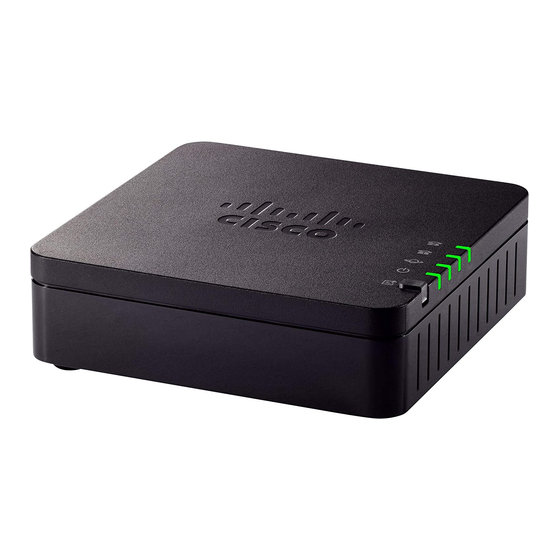
Problem Report Tool Button
Problem Report Tool Button
The Problem Report Tool (PRT) button is on the ATA top panel. Press the PRT button, and a log file is
prepared and uploaded to the server for troubleshooting your network.
You can instruct your analog phone users to press the PRT button on the ATA device to start the PRT log file
process.
One of the following must be completed to upload the PRT log file from the ATA:
• Set up the HTTP server to upload the PRT log file from the ATA.
• Configure the customer support upload URL to best suit your needs, and apply it to the ATA.
Related Topics
ATA 191 Back Panel
The back panel of your ATA has several ports used to connect your device and to power it. The back panel
also has the reset button for resetting the device to the factory settings.
Figure 4: ATA 191 Back Panel
The following table describes the ports that are located on the back panel of your ATA.
Table 2: ATA 191 Back Panel Ports
Port or Button
RESET
PHONE 1
PHONE 2
NETWORK
Cisco ATA 191 Analog Telephone Adapter Overview
6
Problem Report Tool
Cisco ATA 191 Analog Telephone Adapter Overview
Description
To restart the ATA, use a paper clip or similar object to press this button
briefly.
To restore the factory default settings, press and hold for 10 seconds.
The LED behaviour for the factory reset:
1. After you press and hold the button for about 10 seconds, the Power
LED is fast flashing green.
2. After the factory reset is performed successfully, all LEDs are fast
flashing green for about 5 seconds.
Use an RJ-11 phone cable to connect an analog phone or fax machine.
Use an RJ-11 phone cable to connect a second analog phone or fax
machine.
Use an Ethernet cable to connect to the network.