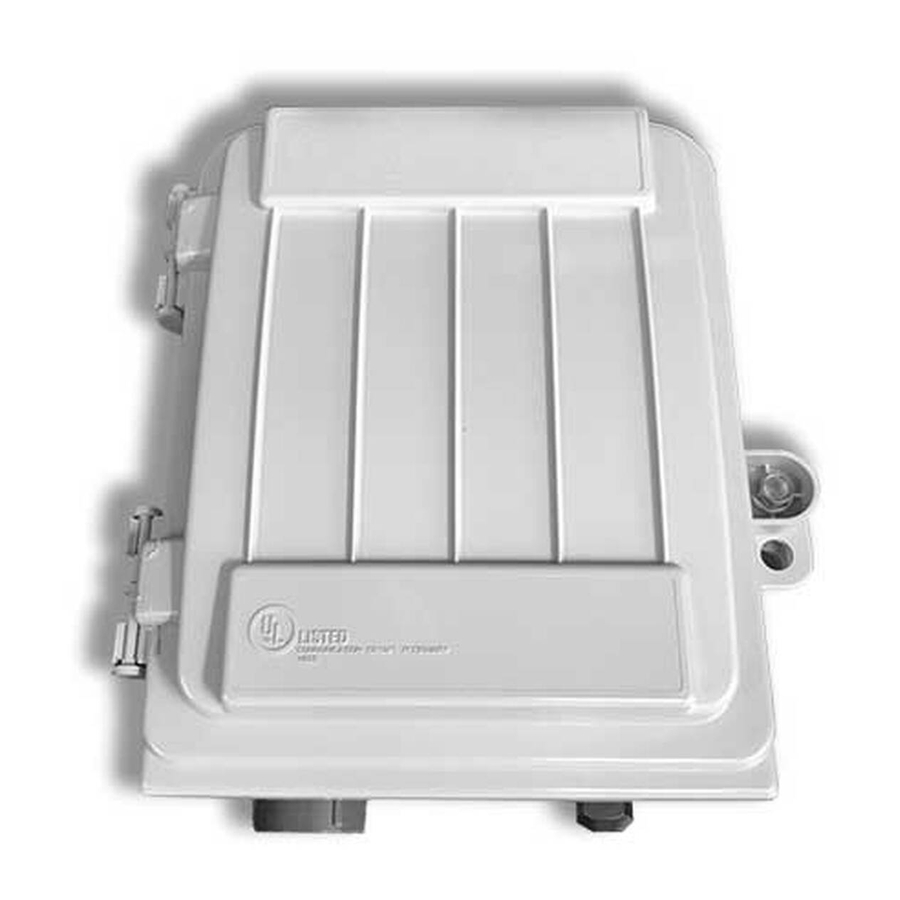
AFL OptiNID 500 Manuale di istruzioni per l'installazione - Pagina 3
Sfoglia online o scarica il pdf Manuale di istruzioni per l'installazione per Involucro AFL OptiNID 500. AFL OptiNID 500 8. Optical demarcation closure

PACKAGE CONTENTS: ACCESSORIES
Single Fusion Splice Chip Kit
Security Cover
Mounting Screws
REQUIRED TOOLS
216-Style Socket Tool
Flat head Screwdriver
ADD-ON COMPONENTS
Compression Fitting Kit
Splice Chip Kit
Pigtail Kit
CLOSURE MOUNTING
1. Using local engineering practices, determine the mounting position of the closure on the wall.
2. Using the provided mounting screws, secure the closure to the wall.
Note: When mounting to a pole, the two mounting tabs located on the back of the closure
are designed to accept a Del Tec strap.
LOCK AND UNLOCK EXTERIOR DOOR
1. Using a standard 216 style tool, or similar, loosen the
screw located on the right side of the closure door.
Do not remove this screw from the closure doors.
2. Press the tab located above the hex screw in to open
the closure. (Figure 1)
Note: A pad lock, not provided, may be utilized if
additional security is desired.
INSTALLATION INSTRUCTIONS
OptiNID
© 2017, AFL, all rights reserved. Revision A, 2.16.2017
Specifications are subject to change without notice.
3
500 Optical Demarcation Closure
®
Figure 1
Tab
Screw
